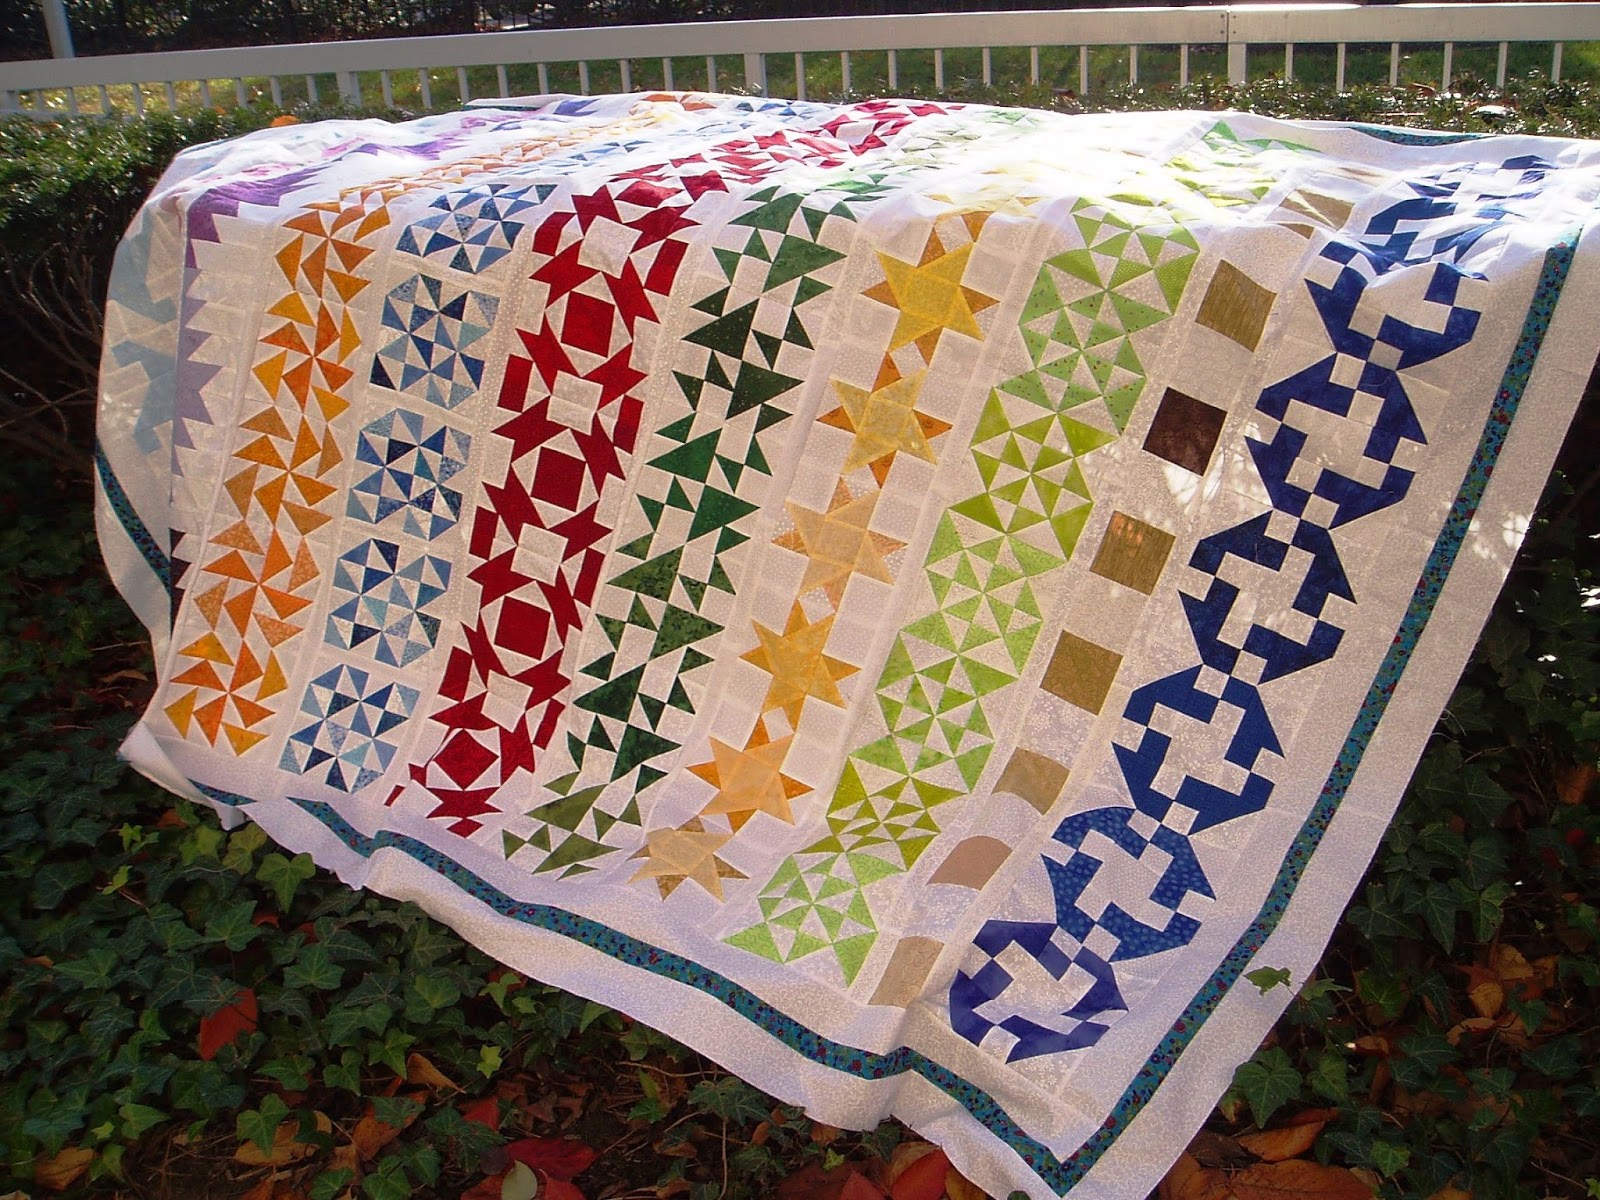
Today is a happy day here, because today I am showing off my finished Classic Stitches row quilt! Here she is:
 |
| Sewing Lessons |
Whoo-hoo! I am so, so happy with this quilt. It turned out slightly differently than I thought it would, but I still think it's quite lovely. It measures about 71 by 89 , which is a very nice snuggling size. I've named it "Sewing Lessons" in honor of all the women who taught me this very satisfying craft.

This quilt is the result of the Classic Stitches row quilt that I have been working on as a part of RSC15 all year. The rows--including all of the white on whites--were all constructed from scraps from my scrap bins. Miraculously, even all of those pieces did not seem to make much of a dent in the scraps!

Some of you may notice that the brown row is not the way it was planned. Yeah, I goofed up there, so I just made a simple checker row to give the quilt balance. It's not perfect, but it's okay.
 |
| Poor unfinished brown blocks! |
Just to wrap up the row quilt tutorials, I've added finishing instructions here at the end. The hard part of piecing the rows is already done, so why not finish it off with some nice sashing and a border?
Thanks to everyone who followed along, left a comment, and generally offered encouragement. My heart is truly full! If you've made a quilt or some rows or blocks from the tutorials, I'd love to see some pictures!
I already have a plan for another quilt next year, so be sure to come back for another challenge!
Finishing instructions:
The first step in finishing up this quilt is to gather and measure all of your rows. If you've made the rows like I did, each of the rows should measure 60-1/2 inches long. I found that some of the rows were very stretchy because there were so many pieces, so handle and measure carefully.
The next step was the hardest part for me: laying out the rows! I built my quilt from the center out. I knew that I wanted the red row to be the center, so I started with that one and then added rows above and below until I liked it and it looked balanced. It took me several tries until I liked it.
After you've got a layout you like, take a picture! It's easy to get mixed up.
Next is the sashing. I used a 1 inch finished sashing, which meant that I cut mine 1-1/2 inches. I thought that this gave enough space in between the rows and gave the quilt a nice size. I used many different lengths of white on whites, but if you are using yardage, you could cut 15 1-1/2 inch strips for the sashing.
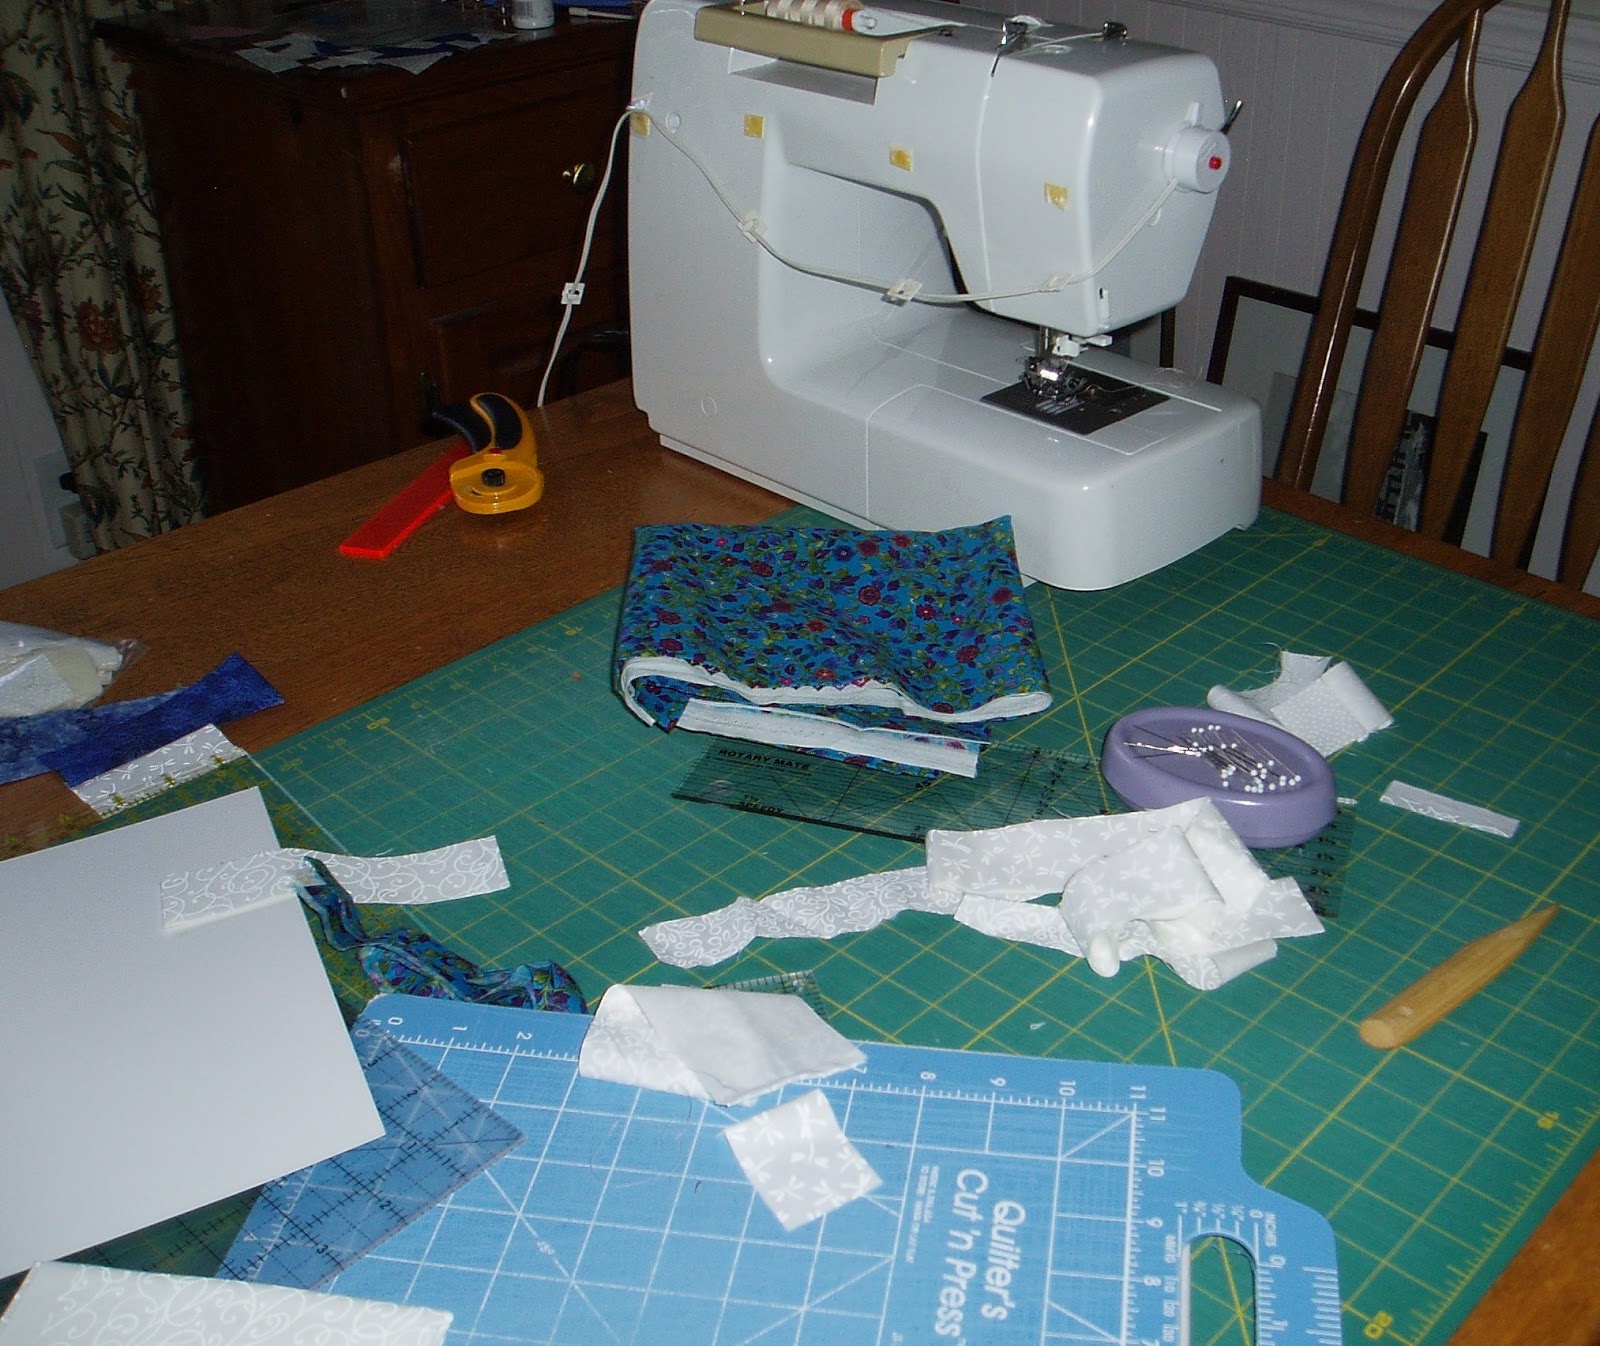 |
| Someone's going to have to take care of all that mess. |
Seam the lengths together and then cut to 60-1/2 inches. This is very important! If you don't measure, you could end up with very wonky rows. Use lots of pins! Pin the center and the ends of the sashing and stitch the sashing to the bottom of all rows but the last one. I found it best to stitch with the row on the bottom and the sashing on top. This eases in any extra length and makes everything nice and stable.
Join the sashed rows together in the order that you found pleasing. Again, I found it easiest to build from the center out.
Borders:
Once you have the center, there are several options for borders. First, you could be all modern and leave it just as-is (though you'll probably find it easier to quilt if you stitch a very narrow piece to all the edges to stablize all those seams).
You could add borders of any width all around. You could even build a multi-step border of different widths if you'd like. Any of these options would look fantastic.
If you haven't done enough piecing in making this quilt, you could take any one of the blocks and make it in a smaller size in any color for a border. Either the Philadelphia block or the True Blue block in black woud be a great border.

For my border, I went very simple in order to emphasize the piecing in the center. I used my new favorite border, a 3-step border composed of a 2 inch finished white border, a 1 inch finished multicolored border, and another 2 inch finished white border. I think it adds the perfect finishing touch to this quilt!

However you finish your quilt, I'm sure it will be spectacular! Thanks again for coming along on this journey with me, and enjoy your finished quilt!
 |
| Windy! |
Sharing at Confessions of a Fabric Addict, Finish it up Friday. and soscrappy for RSC15. Plus I'm trying a new one-- Oh Scrap! Hope to see you around the interwebs!
Your quilt is really beautiful! I have always wanted to do a row quilt.
ReplyDeleteOh Oh oh!!! Now I want one!!! I love that quilt - and thatyou used scraps!! Way to go!!
ReplyDeleteWhat a great quilt, I love the crispness of it and the bright colours too. Congratulations on a brilliant finish on Friday!
ReplyDeleteI can hardly believe you've finished already. Did you hire out the quilting? It's big! And there just has to be a dent in the scraps. Although each time you open a bin, it breathes in and is hard to close.
ReplyDeleteWow - every bit as pretty as I thought it would be. My RSC15 top is done but I haven't decided how I want it quilted yet so it is hanging in my sewing room closet waiting patiently.
ReplyDeleteGREAT color choices! This is such a fun quilt. Nice job.
ReplyDeleteWhat a beauty, Mari! Congrats on your finish!
ReplyDeleteOh how beautiful!! It's such a lovely quilt and the name is really sweet!
ReplyDeleteBeautiful! A finish is always fun, but finishing a year long quilt along is a HUGE accomplishment. Love it!
ReplyDeleteThis turned out BEAUTIFULLY!!! I'll be looking forward to seeing it quilted.
ReplyDeleteIt's beautiful! Congratulations on making a wonderful balanced arrangement.
ReplyDeleteYeah! A gorgeous quilt and finished by year's end. I haven't made a row quilt yet - maybe in 2016?
ReplyDeleteThis quilt is just chock full of wonderful! Now you've got me wanting to do a row quilt, too!
ReplyDeleteI've enjoyed your tutorials all year. Good for you for passing on all those sewing lessons. 8)
Congrats, Mari, on a beautiful quilt. I'm so impressed by some of those complex blocks that give it such variety.
ReplyDeleteGorgeous! I love all the blocks. Congrats on a great project!
ReplyDeleteWell done!
ReplyDeleteYou did a great job! Congratulations!
ReplyDeleteVery beautiful quilt. I think a row quilt would be fun to make. After see yours a row quilt might by rainbow challenge for 2016. Thanks for the inspiration.
ReplyDeleteMari, this quilt is absolutely gorgeous. Such a nice use of scraps, and I understand how using all those scraps hardly puts a dent in them. I sometimes wonder how many quilts are in my scrap drawer.
ReplyDeleteBrilliant! So crisp and colorful! The rows remind me of Fair Isle knitting.
ReplyDeleteFANTASTIC! Congratulations for a great design, well written tutorials, and a beautiful quilt top!
ReplyDeleteThat's a beautiful quilt. I love the white background showcasing all the blocks. And even after you pointed out the brown blocks, I couldn't see anything that didn't look great in your quilt.
ReplyDeleteWhat a happy row quilt Mari! I look forward to seeing what you come up with for 2016. Thanks for sharing this beauty with Oh Scrap!
ReplyDeleteThe crisp white background shows off each row perfectly. What a great quilt!
ReplyDeleteWhat a fun and beautiful quilt you made! Id like to quilt along with you next year.
ReplyDeleteOh my ... WOW I love your gorgeous RSC row quilt!
ReplyDeleteThis is absolutely gorgeous Mari! I love all the bright colors and the blocks you chose!
ReplyDeleteA bit late to the party and yet I MUST comment on this glorious finish. Your row quilt ranks as the most beautiful I have seen thus far in my life. Your border stands out in my mind-most borders seem to put the white in the middle of two darks; your exact opposite of that shines in a way I have not seen.
ReplyDeleteThanks so much for sharing this lovely quilt with us. I will now comb your archives for inspiration.
Namaste.