Friday, April 1, 2016

Glamorous lessons

Hi everyone!  Welcome to April!  How is it possible that March is gone?  Already I feel like the year is flying by.  It's starting to feel like spring outside, too.  April is sure to be a very exciting month for us because our daughter is getting married.  In 10 days!  Yikes, I'd better go buy some shoes!

Today I want to show off my fully completed--and bound!--Sewing Lessons quilt.  I'm very excited that she's back from her sojourn at the quilter: 


Hey, she turned out to be a cutie!  I love this quilt!  I learned so much while making it and I think it turned out really well, too.  I'm so happy with it.  I keep trying to choose a favorite row but I just can't! 

I took the quilt out for some glamour shots around the little park that's near the condo, which has a LOT of trees and some interesting fences.  She looks great, but climbing up some of those hills was not the most fun I've ever had.  They were steep! Kind of worth it, though, to get some pretty pictures of the quilt.  I wanted some with trees and such but it was just too dirty to put the quilt on the ground.

Upside down!


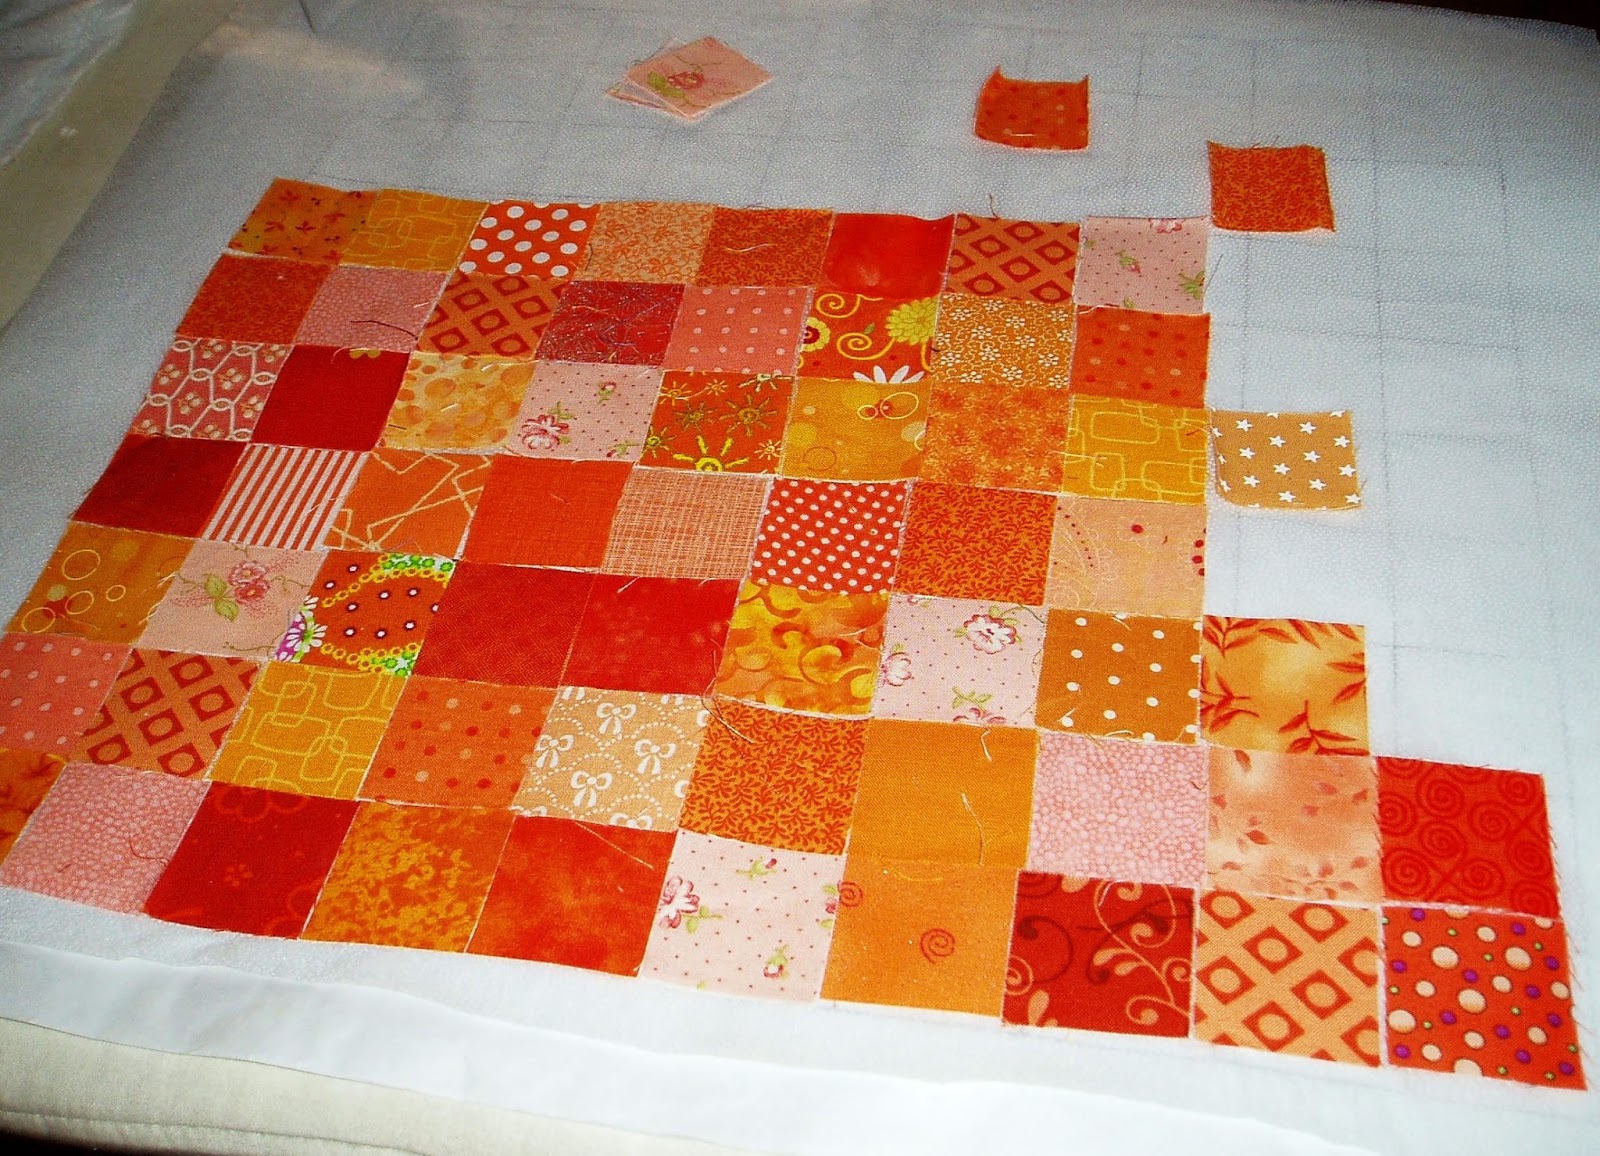
For anyone who doesn't know, Sewing Lessons is the second of my quilts from the Rainbow Scrap Challenge last year.  I made this row quilt from my scraps, making a row each month in the color of the month.  You can read more about it HERE.  It finished at about 71 by 86 after quilting, binding, and washing.  I told you it was dirty out there! 

I had this one quilted in a swirly pattern that I love using white thread: 


It's a great quilt pattern, and it works for this quilt, but I'm getting a little tired of allover patterns.  The problem, of course, is that I'd need to quilt up a large quilt like this myself, and I just don't have the room right now, so I guess it's edge-to-edge quilting for a little while more. 

For the back I used a great wideback print that's part of the Good Neighbors line by Amanda Jean Nyberg of crazymomquilts:


This was the perfect backing!  The colors worked so nicely, and the fabric itself felt so good.  I washed it before the quilt was quilted and it barely shrunk.  After I washed the completed quilt it felt so luxurious, like really good sheets.  It's a cuddly one for sure.

It was kind of a dreary day when I took these pictures, and kind of windy (one of these pictures almost ended up as a quilt sailing away!), but look what I caught peeking out from behind the quilt:


A wild daffodil!  A sure sign of spring if I've ever seen one.

Hope some spring is peeking out where you are, too.  I wasn't kidding about those shoes--I have to buy some this weekend or else I'm going to the wedding barefoot!  Which, now that I think about it, might not be such a bad thing.


Sharing at Confessions of a Fabric Addict, Finish it up Friday.  and soscrappy for RSC16.

Friday, March 25, 2016

Catching up with Grandma

Hi all! Has everyone had enough basketball now?  It's all basketball all the time around here right now.  Thankfully my husband only makes me watch the really interesting finishes, and not all the games are exciting.  I do enjoy some of those dramatic finishes, though, so it works out.

Today I just have three more of the Grandma's blocks in different colors:


I made these to "catch up" after I realized that I need about 30 blocks to make a decent-sized quilt.  After this, I'll be making  two of the main colors and one of the accent colors each month.  Unless I hate any of the colors involved, then it's whatever I want.  I don't think I'll be making black blocks, for example.  And January's accent color was purple, so I skipped that and made a green-yellow block instead.  It was a pretty dismal day, so I couldn't get a good picture of the real color.  This is as close as I came:


Yeah, not good.  I promise it's a really pretty color, though.

Look how much these add to the blocks I've already made:


Now *that* looks more like a quilt I would make!  Much happier all around.  I've also really improved at making these.  It's all about the seam allowance, so that the points match at the corners. This is the first time I haven't had to rip anything to make it all match.  Feeling pretty proud of myself!

Hope everyone has a lovely weekend.  I am going to do some sewing for the wedding, and it will involve cutting into my mother-in-law's 68 year old wedding dress.  Not that I'm nervous about it or anything. Just a family heirloom, that's all.  Nothing to be worried about.

Happy Easter to those who celebrate!

Linking up with soscrappy for RSC16.

Tuesday, March 22, 2016

Taming the tiny pieces

Hi everyone!  Well, the weatherman was wrong.  We got hardly any snow at all this weekend, which I'm quite thankful for, but we stayed in anyway and had a good time watching movies and basketball.  Lots and lots of basketball.  Okay, so the hubs watched the basketball and I did the sewing.  Good division of labor there.

Just a small update on my 1-1/2 inch squares project.  I tried a new method to get the 100-patch blocks to go a little faster.  They turn out cute, but they are somewhat tedious to make.  Here's the latest one, and the first one with this method:


Well, I do love yellow, and it looks pretty springy there in the mulch.  Some yellow flowers would be nice to go along with it, though.  Just saying.

Anyway, I've made a couple of these now using the interfacing method.  This involves fusing the individual squares to interfacing and then picking up the whole piece and stitching the seams in sequence.  This way you only handle the tiny pieces once, and it does make for less distortion in the seams.

Here's how I did it.  First, I cut a piece of freezer paper and drew out a grid of 100 1-1/2 inch squares.  I used the freezer paper because it's nearly impossible to draw on the interfacing, and who wants to draw it all out every time anyway?


I understand that there is interfacing that is pre-printed for just this purpose, but all I could find had 1 inch squares, which is too tiny even for me.  So I just got the lightest fusible interfacing I could find, which is barely more than tissue paper.

I ironed the freezer paper right onto my ironing board and then cut a piece of the fusible interfacing and pinned it glue-side-up over the freezer paper.


Trust me--pin the interfacing!  You don't want to knock it all on the floor just as you've gotten them all in place, do you?

After that, I just started placing the squares on the interfacing, aligning them with the grid:


The block itself builds pretty fast:


Once all the squares are in place, just fuse them down.  They don't have to be perfectly fused, you just want them not to fall off the piece.  At this point you can still peel off any pieces you don't like and replace them, too.

Then you just take the piece to the machine, fold over the first row onto the second, finger press, and stitch.  Keep doing this until all the rows are stitched.  I didn't get any pictures, but the piece will curl up a little as you go, since I didn't stop to press between seams.  I did press after I got all the seams in one direction finished.  Then I turned the piece and stitched all the rows in the other direction.  These were definitely bulkier, but I didn't have any problems stitching them.

Here's the finished back of the piece:


Eeep!  There's mulch on my block!  Plus you can see that I didn't trim it yet.

I liked using this method.  It went pretty fast and it was good to see what the finished block would look like before it was actually stitched.  The finished piece is definitely bulkier than without the interfacing, though.  The interfacing is very light, but it does build up in the seams.  For the next block I'm going to try cutting open the seams and pressing them open before I stitch the rows in the other direction.  I think that will help some, even though I really don't like pressing the seams open.

Okay, I'm off to do some actual work for my actual job!  Have a wonderful week!


Sharing at Linky Tuesday, Let's Bee Social, and Oh Scrap!

Friday, March 18, 2016

Friendship stars

Hi everyone!  Another Friday has come around and today looks like a great day.  I hear we're going to get up to a foot of snow later this weekend. Yikes! Winter apparently just realized that it forgot to do its' job this year.  

Today I have this little beauty to show off:


Friendship ribbon stars!  Okay, it's not so little.  The top is about 62 by 80. These blocks are ones that I traded with friends over the course of several months last year. I also traded blocks made from solids, so I have another quilt to make up later.


Yes, I joined two of the groups.  What can I say?  I had just moved and I was lonely.

This one was easy to make up since I already had all of the blocks.  The hard part was laying it out.  So many choices!  Finally got it set, though, and--miracle of miracles--everything fit!  It went together pretty quickly.

 
I'm really happy with how this swap turned out.  I was afraid that all of the fabrics would be ugly ones that people wanted to get rid of, but I worried for nothing.  One person even fussy cut her centers:


Isn't that darling?

This quilt is destined for donation to Happy Chemo through Sarah's Hands to Help challenge.  Doesn't it look like someone would like to take this to a chemo appointment? 

Hope everyone has a great weekend.  If it snows, I'm planning to sew some more! Who would have guessed?  If it doesn't snow, I guess I'll be stuck going to the grocery store or something, and who wants that?

Sharing at Confessions of a Fabric Addict, and Finish it up Friday.