Showing posts with label not quilty. Show all posts

Tuesday, June 16, 2020

Drawing the curtains

Hello all! How's it going in your corner of the universe? Lots going on here, as we are finally getting some remodeling done, which had been postponed by the virus. We seem to have this thing where we buy houses that need some love and then make ourselves crazy getting them to where we want them to be. I have to tell you that this is the hardest time we've had getting contractors to even show up. No clue why this is, because boy, they are charging us plenty to do the work. More expensive even than Delaware, which is really saying something.

Anyway, while people were walking on my roof, I went downstairs and made these two lovely blocks:


These are the June blocks for the color challenge at Patterns by Jen. You can see that these are opposite colorways, which I've been making all year, but in the same fabrics. Maybe not the best choice, but I don't have a lot of blue and I wanted to use these batiks. I ordered some batiks from Connecting Threads, and they were supposed to be blue-greens, but they turned out to be just plain blue. There were only a couple of blue-greens in the fat quarter pack, which is disappointing, because I want to make the quilt for our bed from blue-greens, from aqua to turquoise. Think beach glass. If anyone knows of some nice aqua batiks, please point me in the right direction!

After that, I had to buckle down and finally get to hemming up some curtains for our windows.


This house is a mid-century modern, which is a great layout, but the windows are a problem. They are very high up on the walls, and since we're fairly short, we can only see out a little bit. It turns out, though, that there is no problem seeing in from the street, and I'm tired of the ugly, dirty blinds that came with the house. So, I've started cutting and hemming these curtains, and I may have to actually make some others.  I did see that there are people on Etsy who make curtains for very tall windows, and if any of you have a recommendation of who to hire for this, please send that along too!

That's my update for now, at least in the sewing arena! Otherwise I'm getting a bunch of exercise, writing some new classes for the fall, doing what research I can without being able to actually go into the library, and generally trying to relax and let my brain recover from months of stress.  I'll leave you with this picture of some lovely flowers I came across on a walk:
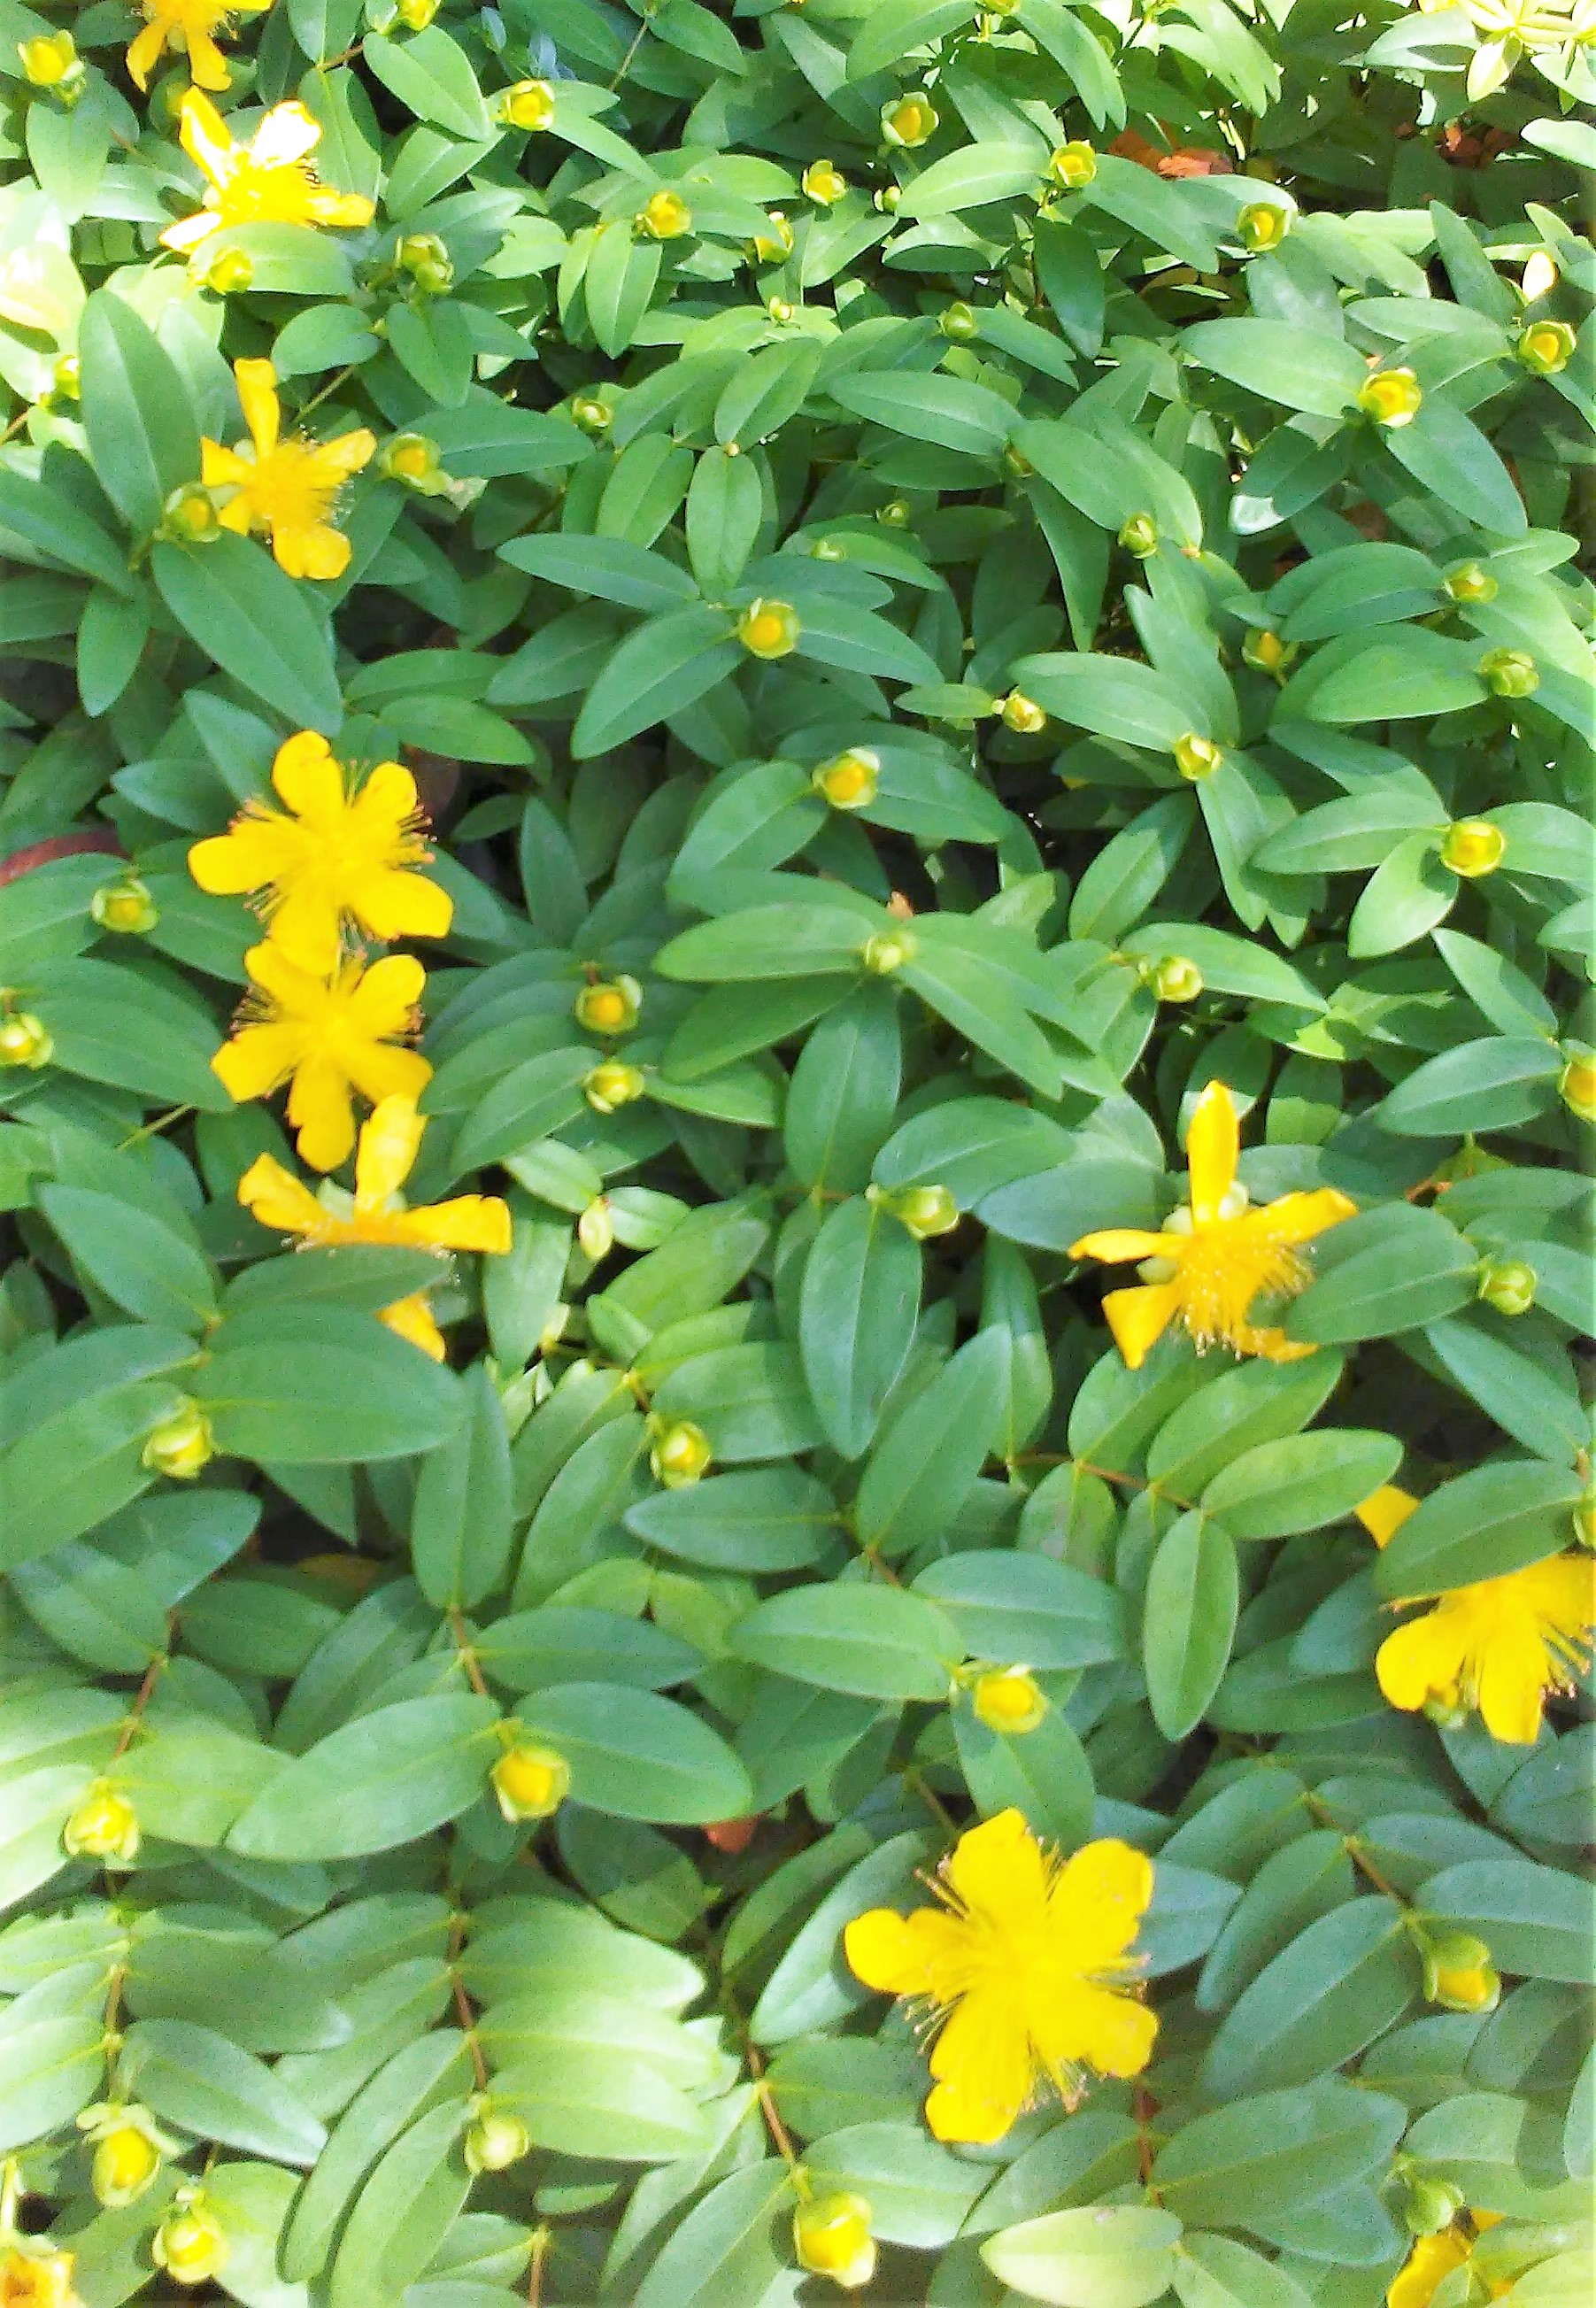

I don't know what they are, but they're very cheerful!

Hope you all are having as good a week as possible in these very fraught times. I'm still feeling discombobulated by everything that is happening in the world and our country right now, but I did realize that one of the things I can do about it is to teach better, so I've been redoing some of my materials to make sure I have a broad section of races and perspectives represented. Black lives matter, folks, and it's up to us to be sure the next generation knows it, too. 

Sharing eventually at PBJ.

Friday, July 26, 2019

Fun with voiles

Hi everyone!  Well, the heat has finally broken, at least where we are, and it's much more comfortable now, though those were some powerful storms that ended it.  Good thing it's done for now, because the anxiety is definitely on the rise as we get closer and closer to moving.  There are too many details, and I'm getting pretty tense.  It all goes okay in the end,  I know, but getting there can be no fun at all.

From time to time I make things that are not quilts, and this is one of those times.  I'm starting a new teaching position in a couple of weeks, and that calls for something new and festive for those first few days. And face it, it's just fun to have new things sometimes too.  Here's what I made:


Yep, a couple of pretty scarves! I made these from two pieces of the cotton voiles that are everywhere now.  The fabrics are really pretty, but they're definitely too thin to use in a quilt. They make really nice, soft scarves, though!


I made the blue infinity scarf from a very pretty piece of voile from Bari J called Birds and Branches that I got from my friend Bernie's shop. This scarf was super easy, using THIS tutorial from Melly Sews.  The length and the width turned out to be very big, at least to me, so I ended up cutting about 10 inches off the length and about five inches from the width to make it fit me a lot better.  Even with the adjustments, this literally took me about an hour to stitch, plus maybe 10 minutes of hand sewing to close up the final seam.

You would think that the infinity scarf would be more complicated and take longer than a simple straight scarf, but no, the orange one took longer, mainly because I hemmed the sides.  This voile is called Firefly Tang by Jeni Baker and the photos don't do it justice.  It's a lovely orange that's not really bright or flashy and the fabric itself is very soft.  I had thought about making a tank top from it because it's so pretty, but it's just too sheer for me to be comfortable wearing it.  Perfect for scarves, though!


I cut the orange scarf 12 inches wide and made it about 72 inches long.  I hemmed the sides with a very narrow hem and then did a small zigzag about an inch from the ends and pulled threads to fray the ends just a bit.  This was actually the hardest part because it just didn't want to fray, which is a good thing in fabric but not great when you actually want it to come apart. 

The dresses are identical styles from Lands End. I have this dress in five colors and wear it all the time. Super comfortable!

And just like that, I now have two new festive accessories to wear this fall! They were easy to make and will dress up my plain solid boring clothes.  I love the fabrics, too, and I'm glad I got to use those thin fabrics for something useful.  So a very successful small project, I'd say!

Hope everyone has a good weekend, and that it's not too terribly hot where you are.  Ice cream always cools me off-- just sayin'!

Sharing at Confessions of a Fabric Addict, Finished or Not Friday, and TGIFF.

Friday, June 10, 2016

Power outage

Ever have the power go out at your place at a really inconvenient time?  That just happened to me!  It has been hot and stormy, on and off, for a few weeks now.  Not that big a deal really, but this week the power went out during a strong storm.  Not usually a tragedy, but this time it stayed out for about 8 hours.  Just when I had a bunch of sewing to do!  And laundry, and the dishwasher! And the air conditioning was out too, of course!  So, instead of finishing what I had planned, here is my big finish for this week:


These are potholders for my daughter.  Why buy them when mom can make you exactly what you want?  She chose some really cute fabric, I think.  It has all these "cooking words" on it:


These were fairly easy to make.  I just cut circles out of the fabric and some Insulbrite, (I traced around a salad plate) then layered them, lightly quilted, and then bound them with bias binding.  In retrospect, it was silly to cut the circles first.  I should have quilted it first and then cut the circles, but I wasn't thinking.  For the smaller ones, I just trimmed the sides of the circles to make an oval.  It worked for me. 


I'm also supposed to make some kitchen curtains for her, but the power was out so I didn't get to those either!  Oh, well!

Sad unmade curtains!

The other thing I was going to do was staple some ironing board fabric on my small ironing board (which I use all the time!), but I couldn't because I really need to use the electric stapler for that. I had a decorator fabric on it as a cover, but it's gotten really scorched and I'm hoping the silver fabric works better. Oh, well again! Use your imagination!


Hope all your projects worked out this week!  The hubs and I are at an academic conference, which is why it was so critical to do all those things the day the power went out.  Good thing my real-people clothes were all ready to go, or I might have to try to look professional in t-shirts and capris!

Have a wonderful weekend!  Here's hoping you don't have power troubles!  Or weather ones, either!

Sharing at Confessions of a Fabric Addict and crazymomquilts.


Friday, April 8, 2016

Sentimental sewing

Hi all!  Tomorrow (Saturday) is a very big day--our younger daughter is getting married!  In celebration of this great event for our family, I thought I would show you one of the things that I made for the wedding.  I made a few things from her grandmother's wedding dress, and this little purse is one of them:


Just big enough to hold a lipstick and a couple tissues!  Believe it or not, this is made from the sleeve cuffs of the dress.


They were beautifully done with a hand-stitched self facing, so the two sleeve ends together made a lovely little self-lined purse in very little time.  On the one end of the purse, I kept the buttons that closed up the sleeves.  There were more than 50 of these buttons on the dress, including all the way down the back.  I'm sure they were hand-covered! Imagine all that work!  The button loops were also handmade. I also used a section of them to make a bouquet wrap, but didn't get a picture of that.


I added a zipper that matched the satin very well to the top of the piece, then folded the cuff points over and secured them each with a button.  The buttons are new but they look like they were made for this purse.  The hardest part of the whole thing was convincing myself to cut into my mother-in-law's 68 year old dress.  Here is the happy couple on their wedding day in 1948:


I just love this picture.  They are both gone now, and we miss them so much.  Her dress was handmade from a very nice heavy satin which has held up very well but is now more ivory than white.  The seams were all hand-finished, with just some beautiful construction.  It's also about a modern size 0, because my mother-in-law was very tiny, only about 4'10" at her tallest. (She has heels in this picture!) I think the waist in it was 26 inches.  Not made for a 26-inch waist, actually 26 inches.

We are all so happy about the wedding, and so happy that some part of her grandmother's dress will be a part of it.  Here's hoping it brings them as much happiness as it did her grandparents.

Everyone have a wonderful weekend, and I promise more quilty stuff next week!

Sharing at Confessions of a Fabric Addict, and Finish it up Friday.  

Friday, July 17, 2015

Standing up

Hello everyone!  How was your week?  Thanks to everyone wished our kids well in their new home.  Thanks also for your concerns about the cat.  Don't worry about him--I understand he now rules the household.  He even has his own condo so he can see out the window, so I think he actually got a happy ending.

It has been very, very busy here.  We are doing some home improvements, which makes a horrible mess, and are trying to get ready to go to a wedding and a small vacation several states away.  I bought a dress, but like all dresses I buy, I had to alter it.  The top and bottom never fit the same way.  (What is with the giant armholes?) If you've ever done this, you know that it is not fun sewing, but is very time consuming.  At least it fits correctly now. 

I also carved out a little bit of time to make this:


This is a tablet stand pillow, made from this tutorial at From Pixels to Patchwork. This is a very cute blog with a lot of great tutorials and really good ideas!  The tutorial for this pillow stand is great, with terrific pictures and easy to follow directions. 

I used a fat eighth pack (each fabric is 9 by 22) of fabrics from the Lady Slipper Lodge line from Moda.  These are so pretty!  I didn't use anywhere near all the fabric in the pack, and I tried to mix a bunch of the prints so that the pillow would be more interesting.

My new Olfa Frosted ruler!  I truly love this thing!


I made a few adjustments to the pattern for myself.  First, instead of using interfacing, I used a bit of fusible batting.  Where else would I use it, really? I didn't quilt it, but now I wish I had.  Here's a tip for using the fusible stuff--if you use a Teflon pressing sheet, you can just lay the fabric pieces on the batting, fuse it, and then cut without having to cut shapes before fusing.  It's so much easier that way.

Using my emergency backup iron.  I think the good iron has finally died.

The tutorial gives directions for stitching the triangle sides that include pivoting at the end of the seams.  Instead of doing this, I felt like I had better control by stitching the bottom seam first, then pinning and stitching the side seams.  My points probably aren't as pointy as they could have been, but I think the stitching went a lot better for me. 

That is one ugly lunch bag.

Also, I had very little Polyfil and didn't want to buy more, and I wasn't going to use beads, so I used quilt batting.  For the tablet "shelf" I just stacked about 6 layers and rolled them tightly:


This piece got stitched between the layers of fabric in the shelf, which was the most difficult part of the whole project.  Make use of your zipper foot to stitch that seam!  Also, I didn't realize that the stitching would show, so make sure your thread matches the shelf fabric, if that matters to you. 

To stuff the main pillow, I used all the little pieces of batting that I had.  You know, all those skinny pieces that you cut off the sides and then don't know what to do with because you don't want to sew them together?  Use them to stuff pillows!

Nom, nom, nom!

This worked great.  The pillow took a lot more of these bits than I thought it would, but it ended up stuffed quite firmly.  From now on, I'll save these pieces in a bag to use just for this purpose.

I am really happy with the finished product, and it fits my tablet really well! For size purposes, this is a 7-inch Kindle Fire tablet.


This whole project took about an hour and a half--half an hour or so to cut and fuse, and then about an hour to stitch and stuff.  If I were going to make it again, I would leave out the zipper on the bottom and just leave that seam (or another one) open a bit for turning and stuffing, then close it by hand.  The zipper seems unnecessary to me.  Also, I would extend the tablet shelf a bit so that it goes all the way across the front.  There's nothing wrong with it as is, but  I think it would look better if it were longer.

I plan to use this to watch movies all over the house, not just in the sewing room, but here's a sewing room-specific use for it:

If you look carefully, you can see some of the stitching for the fabric shelf.  I wish I had done this differently.

Pin a pattern to it to keep it right in front of you!  I can't wait to try this!

That's my big finish for the week, and I think I need to go test it right now by laying on the sofa and watching a movie.  I suggest you do this too and call it research for a new sewing project. (Seriously, it's not like this will actually happen, but doesn't it sound like a great idea?)

Thanks to Taryn for a great tutorial, and I hope everyone has a great weekend.  Have fun with your "research" and happy sewing!

Sharing at Confessions of a Fabric Addict and also Finish it up Friday. Stop over and say hi!


Friday, June 19, 2015

On the road again

Hi folks, and welcome back to summer!  It isn't raining here today! Apparently we get to have a little bit of summer before it's back to rain and lows in the 40s.  In related news, I now live in the middle of a jungle.  Seriously, suddenly all the plant life around here is totally out of control. Must be all that water. I feel like I should have a machete going into the back yard. But the soft soil makes the weeds easier to pull, so that's good.

Today I have a non-quilty finish to share.  Here it is:


Isn't that fun-looking?  This is a small duffel bag that is just the perfect size for a change of clothes and a book. You know, if you're going away for a weekend or something.  This turned out  to be about 20 inches long, 9 inches wide, and 9 inches high.

This was made with a piece of double-sided pre-quilted Moda fabric from a line called Fresh Air that is more than a couple of years old.  I used this same fabric to make a larger bag for my daughter and made this from the almost-yard that was left over.


This duffel bag was easy enough to make, even though it seemed to take me forever.  Don't know why, but it did.  I used French seams instead of enclosing everything in bias tape, which saved a lot of trouble.  I also added a few details just for me.  On the inside are these pockets:


Yes, there are threads. Sighhh. But look at the pocket! I took a bag-making class at least 10 years ago and the instructor called this "stacking the pockets."  I just like how the zippered ones turn out.

Because I stitched this on the inside, I covered it on the outside with another pocket, even though I didn't really need to because the stitching was pretty much lost in the fabric print.  Looking at the pictures, I'm really not sure I should have put that rust color out instead of the print. But it did give me another opportunity for a pocket!


I am super-happy with that! A place for my change or maybe some chocolate or something. The button is just decorative, by the way.

I used up almost all of the fabric I had, but with the biggest piece I had left I made this matching little bag:


I was going for a glamor shot, but didn't quite make it.  This little pouch is about 6 inches square and is for holding my cords and such.  I even tested out a new technique by putting a vinyl window in it. It worked okay. Here's my one tip for putting vinyl windows in:  the vinyl comes wrapped in tissue paper.  Keep that paper stuck to the vinyl until it's stitched in to the piece:


It keeps the vinyl from sticking to the machine, and you can just tear it off when you're done.  It actually turns out great.

Also, if you ever come across these, buy them in every color:


This has saved my bacon more than once! Easy to use and extremely useful!

So, that's my big finish for now.  I am off again for the weekend on a secret mission.  There may be fabric involved, but probably no quilting. Lots of fun, though!


Everybody have a great weekend.  Hope you have some secret missions of your own to keep you busy!

Linking to Confessions of a Fabric Addict and also Finish it up Friday.