
This month we are making Double Stars. What's a sampler quilt without stars? These go together very quickly. Quilt historian Barbara Brackman lists a pattern for Double Stars that is attributed to the Nancy Cabot newspaper column from the 1930s (#2586 in her Encyclopedia). The Double Stars pattern she shows is constructed a little differently from these stars but has the same overall effect.
To begin, you will need 3 fabrics: a background fabric, a yellow for the main star and a darker yellow or gold for the second star. Six inch stars are shown in the pictures here and cutting measurements for 9-inch and 12-inch stars are given at the end of this post.
Cutting:
From the background fabric, cut 1 3-1/4 inch square and 4 2-1/2 inch squares. From the yellow, cut 1 2-1/2 inch square and 2 2-7/8 inch squares. From the gold, cut 1 3-1/4 inch square.

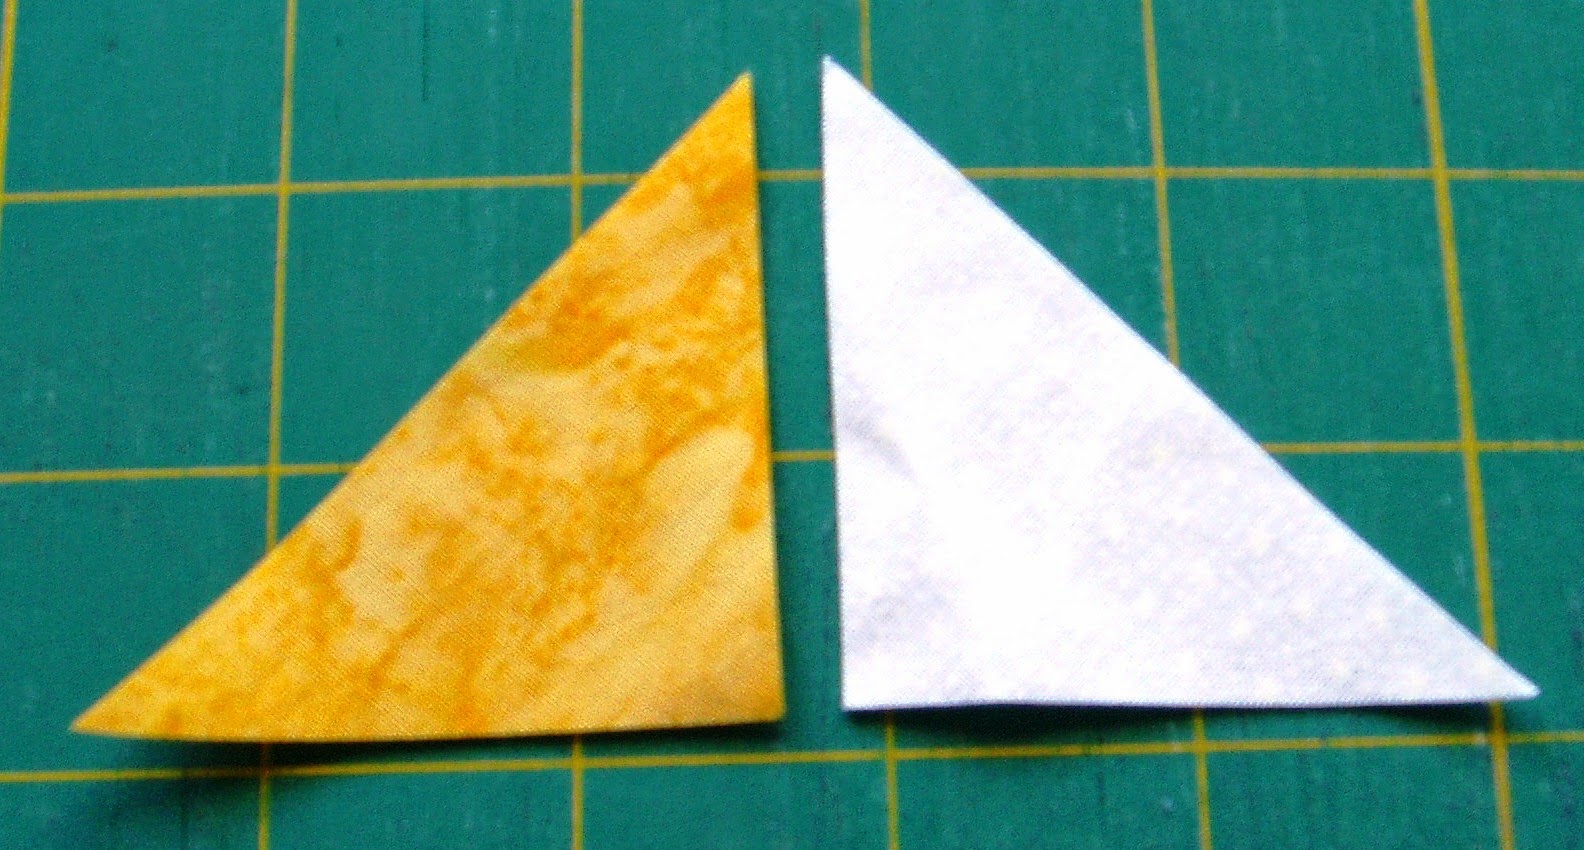
Cut the 3-1/4 inch squares of both colors diagonally twice, making 4 triangles. Cut the 2-7/8 yellow squares in half diagonally once, making 2 pieces each, for a total of 4 yellow triangles.

Alternate cutting option:
If your scraps are smaller or you prefer using the Easy Angle and Companion Angle rulers, you can cut the gold and white triangles using the Companion Angle. Use 1-1/2 inch strips and cut 4 gold and 4 white pieces per block.

Similarly, cut the yellow pieces from 2-1/2 strips, cutting 4 per block using the Easy Angle.

Construction:
Whichever way you cut them, stitch the gold triangles and the white triangles together along one short edge, taking care to stitch so that the darker piece is to the left. Press towards the darker triangle.
Stitch the gold and white triangles that you have just constructed to the yellow triangles, stitching along the diagonal edge. Press toward the yellow triangles.

At this point, these units should measure 2-1/2 inches square. Adjust or trim if necessary.
Take the units you've just constructed and the remaining pieces that were cut and lay them out as shown to make the star block:

Check the orientation of the yellow and gold units, then stitch the units into rows and the rows together into the block:

Your finished block should measure 6-1/2 inches to finish at 6 inches in the quilt. Ten blocks make a 60 inch row and 6 blocks will make a 36 inch row.
Seriously, the cutting is the most difficult and time-consuming part of making these stars. In no time at all, you'll have a row of happy yellow blocks:

Alternatives:
Instead of using a darker yellow or gold for the double part of the star, use another color altogether, like blue or green:

For 9 inch blocks, cut 1 4-1/4 square of gold, 2 3-7/8 inch squares and 1 3-1/2 inch square of yellow, and 1 4-1/4 inch square and 4 3-1/2 inch squares of background. Assemble as above.
For a 12 inch block, combine 4 6-inch blocks or make a giant Double Star block by cutting as follows: 1 5-1.4 inch square of gold, 2 4-7/8 inch squares and 1 4-1/2 inch square of yellow, and 1 5-1/4 inch square and 4 4-1/2 inch squares of background. Assemble as above. This would be a great place to show off a large-scale print.
For my quilt, I made a row of 6-inch stars (that were very hard to photograph):

I also made a 12-inch block using alternate colors instead of gold:

And that gives us a yellow row for the quilt! Because the colors for RSC15 are not given in the same order that I have planned to arrange the colors in my quilt, I am not stitching the rows together until the end. You can either join your rows in a way that pleases you or save them until the end to arrange them when all the rows are finished.
Enjoy making some fun stars for your quilt, and come back on Tuesday, April 7, for next month's block!
Happy sewing!
Linking to Linky Tuesday, and Scrap Happy Saturday at soscrappy.
12 comments:
This will be a fun block - Looking forward to getting started on it. For the smaller divided triangles, couldn't I do HST's and cut those in half? Would that work or am I not thinking this through?
Hope this week is better than the last for you.
I am loving the stars!
I'm loving your stars too! They have been so fun to make.
I'm loving your blocks. They are beautiful.
I love the double stars especially using two colors. Thanks for tutorial to make them.
Pretty star!
Great tutorial - and I have always loved this kind of double star. Like your row quilt plan . . .
Beautiful stars. Love the way that you have put them together with the other colors.
Nice selection of stars!
Fun stars. I like the yellow and teal one the most.
Awesome stars!
Ok I'm confused. On your photo of the star laid out before sewing, the colored points are all the way even With the edge of the white but in your photo of the block sewn together, there white sticks out 1/4 further than the colored points.
Post a Comment