Saturday, April 28, 2018

Yards and yards of yellow

(A scrap giveaway is at the end of this post!)

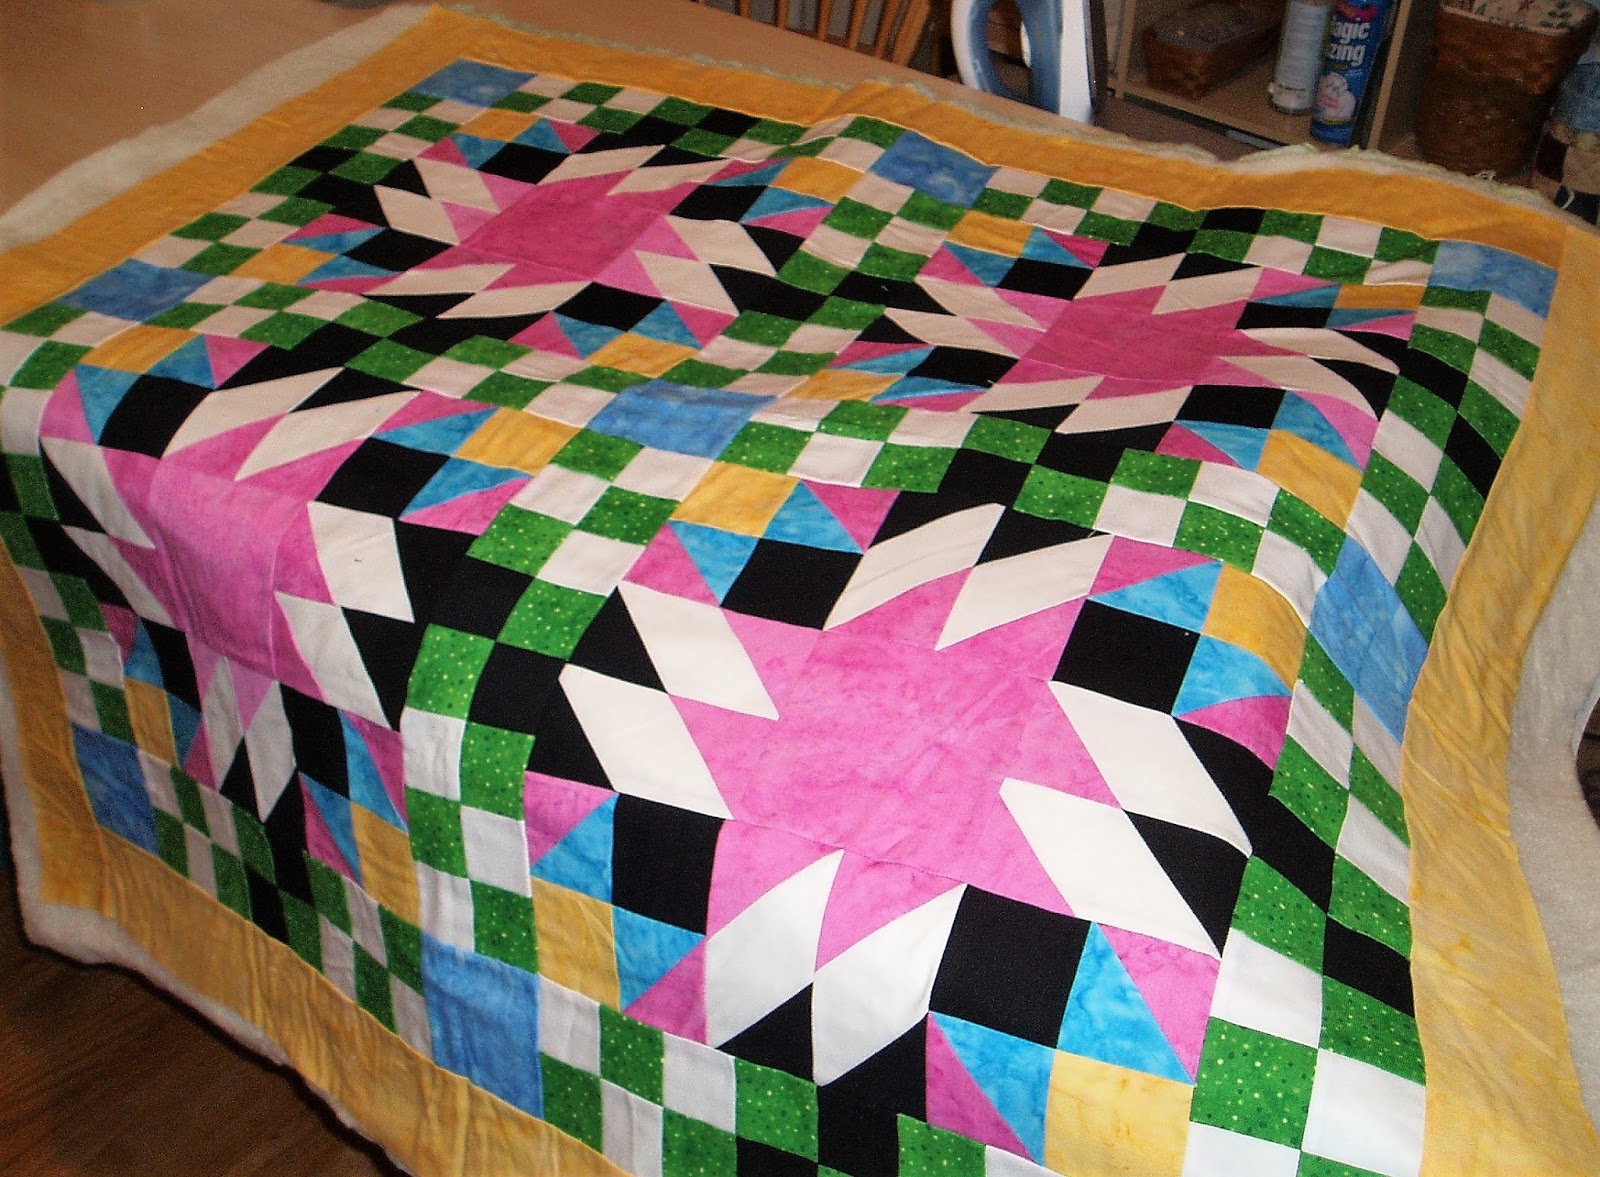
Okay, not really yards and yards of yellow, but scrap after scrap! The RSC color for April--a month that has flown by-- has been yellow, a color I love.  Yellow is so happy! I used up a bunch of my yellow scraps this month in three different projects.  Yellow is notoriously difficult to photograph, but trust me when I tell you that all of these yellows are very festive, even if they appear flat in the pictures. The first scrap project is the stars for the galaxy quilt:


Gosh, nature makes some vivid yellow, doesn't it? I had this forsythia bush that was still blooming, so I had to make use of those yellow flowers, didn't I?  If you recall, these stars are to use up various dark blue half yards, since I rarely use dark blues.  I love these stars and I think they're going to make a great quilt.

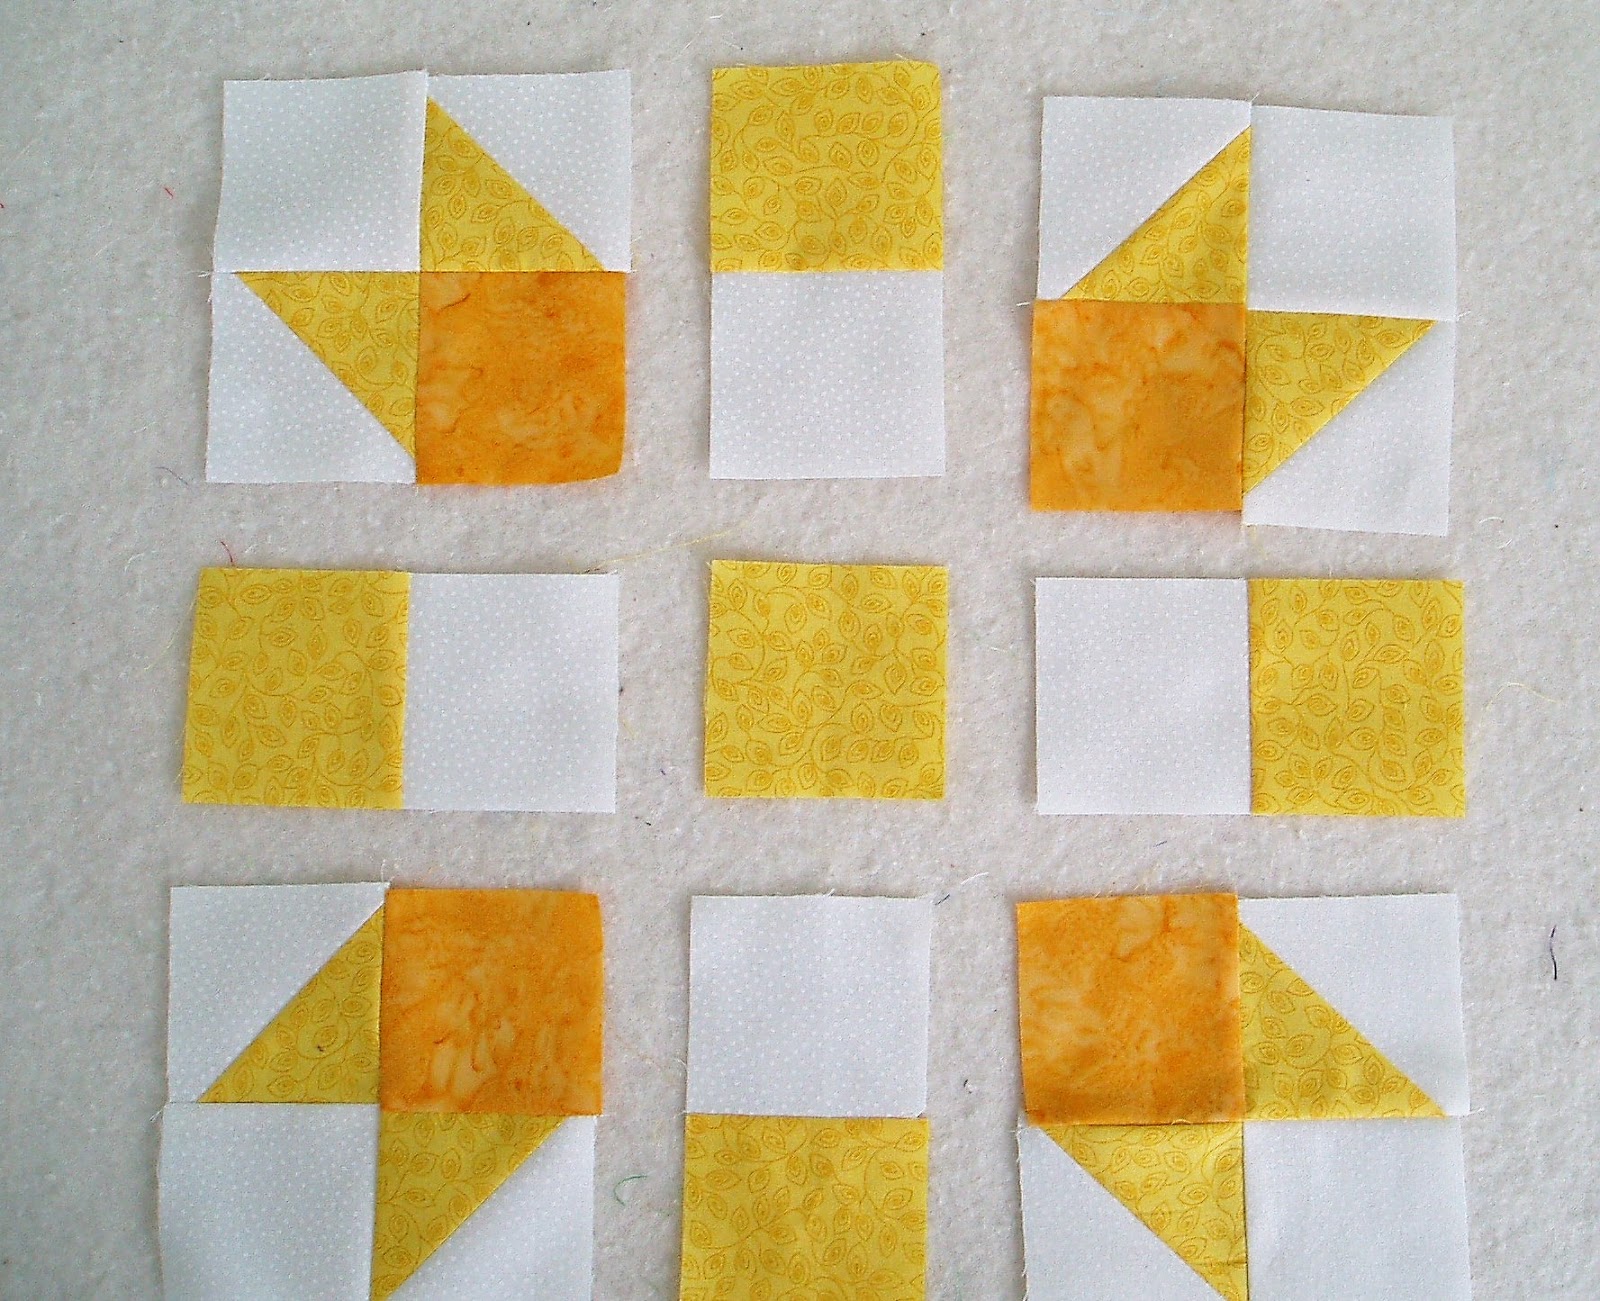
I also made the two yellow patchwork scrap stars this month:


I have a friend who has claimed this quilt, and so the bright turquoise and pink will be perfect for her.  I've made do with a cute background for this picture to make up for the fabrics looking so flat.

The last project I used my scraps on were the 9-patches with white centers:


There is some terrific variety in those 9-patches. I got 10 of the yellows this month, plus two gold ones:


Those were a surprise.  One of the yellow 9-patches was so surprised that it escaped and had to be hunted down and retrieved:


Thank goodness it wasn't very windy the day I took these, or we'd be down one 9-patch!

So now I'm all caught up on my scrap projects, and it's time to give away my remaining yellow scraps, like I am every RSC month this year.  Here is this month's haul:


It turns out that I used a lot of yellow scraps this month!  There are some nice yellow pieces here, but fewer than previous months. To fill out the package, I am including a half yard of a tan Grunge fabric by Moda, which I bought as a possibility for my St. James Church project, but didn't use.  (I hope you can make it out in the picture.  It kind of blends into the table.) This is your gain!  The package also includes a handful of both 1-1/2 and 2-inch squares, including the leftover yellow 2-inchers.

This giveaway is now closed!  Thanks to all!

I will send this package absolutely free to one lucky person (in the US or Canada--sorry! Postage to Europe is just too much!) who will swear to use these scraps in some project.  To enter, just leave a comment here on this post! That's all! I will use the random number generator on Monday, April 30th, sometime in the late afternoon.  (Please make sure that I have a way to contact you if you are no-reply.)


Everyone have a lovely weekend. Here is one final look at the blooming forsythia, which is being pulled out sometime in the next couple of weeks for a major landscaping project.  The project involves at least 5 truckloads of dirt. I'm dreading it, seriously!

Sharing at soscrappy for RSC18.

Wednesday, April 25, 2018

Sailing away

Hi everyone, and thanks for all the good wishes when I was feeling not-so-great! I'm happy to tell you that I slept much of the weekend, and read some while I supervised the hubs from the sofa.  I'm feeling much better at last.  I'm not sure if it was the sleep or the sofa that had the amazing restorative properties, but whatever it was, I'll take it!

A little while ago, while I was under the weather, I pulled out all of my leftover half square triangles.  I made up a couple of small pieces from them, but then I didn't know what to do with the rest of the leftovers.  I hate to see them just sitting there, but what to do? Thanks to a post on Instagram, I had a major insight and have been working on some of these from all of those hsts:


Sailboats!  When I saw the post on IG of a really cute little sailboat, I literally slapped my forehead. Of course! Sailboats from leftover hsts.  What an idea!  And you know, I have a little grandson who is just a few months old, and sometime soon he may need his very own quilt.  Wouldn't a sailboat quilt be cute for a little boy?  As a bonus, his "other" grandfather actually owns a boat! A sailboat quilt seems like fate.

The picture above is of a very tall sailboat, but I am making others that don't have quite as many sails.  So far I've only added the "boats" to a few of them, but I have a lot more sails:


I love these! I'm keeping the hsts made from the same fabrics, or at least all the same colors, all together, and they're making boats of all different sizes because the hsts are all different sizes.  That makes sense, doesn't it? It might be dull to have all the boats look just alike, and I'll bet it would require making more hsts, which owuld lead to more leftovers.  Here are some of the current sails:


I just love that red and yellow boat, don't you?  Obviously many of those boats are incomplete, but you can see the size variations.  I think it will make the quilt interesting.  Maybe the smaller boats can be "towed" behind the others?  Since I'm using the leftovers, some of these hsts in the boats are very small, too small for boats of their own.  Some of the smallest ones make really nice "flags" for the tops of the masts, though.  See the smallest aqua hst here?


That little one finished at just about half an inch square. I'm glad that I didn't throw all of those in the trash! I suspect some of them may end up there because they are *very* small, but a few of these make nice flags.


I have no real plan for this quilt, other than to use up the hsts, so I'll work on it here and there until it's done.  I know for sure that it won't get all put together until this summer at the earliest because I am behind on everything in my life including the quilts.  I'm sure my little grandson will be willing to wait since he's currently chewing on his brother's quilts and blankets, and enjoying that very much.  But at least this will be fun to work on in little bits and I can think about my grandson while I do.

Don't worry, I have plenty of hsts!

Hope everyone is having a good week! I really am behind on everything, and very very behind on some things, so I will be very busy.  Pretty sure I'm going to need a gluten-free fudgy brownie --or two!

Sharing at Let's Bee Social and Oh Scrap!

Friday, April 20, 2018

Quilting practice

Gosh, I am tired of feeling sick.  It's been all week now and I'm done with this.  Kind of like we're all done with winter, you know?

Not much opportunity for stitching this week, because of the headaches, you know, but I did spend a little bit of time here and there finishing up a piece I had started earlier.  This baby-sized quilt gave me the opportunity to practice some more of the walking foot quilting, plus it got finished and ready to donate for a tiny person to love.  Here is the little quilt:


Say what you will about the pattern, which is a much smaller version of Bonnie Hunter's Grand Illusion quilt, the colors are certainly cheerful, aren't they?  This finished at just 36 inches square, which is actually exactly the size I wanted.  Because this was a quilting practice piece, here is a view of the quilting from the back, which is easier to see:

Not a wrinkle in sight!

My plan for this little piece was to use the walking foot to quilt in the gridded sashing and then to make some free-motion flowers in the larger pink areas.  The walking foot portion went really well, using a bright green thread to outline all the squares in the green and white sashing, then carrying those out into the yellow border.  When it was time for the free-motion part, though, there was sadness:


I have no idea what was happening here, but it just would not work.  I tried and tried, but the stitches kept skipping and the thread kept breaking.  I changed the needle, changed the thread, took the machine  all apart and cleaned it, but nothing helped. I finally gave up because I was afraid of tearing the fabric.  So the next day I pulled out the walking foot again and stitched a starburst effect in each of the pink and black blocks:


I think this was a decent save! It works pretty well with the grid stitching and fills in those blocks pretty well.  It was fairly quick, too.  I don't know why the thread looks so white in the photo.  You know I like thread to match the fabric pretty well, so this thread is a bright pink and definitely looks pink against the black and the other colors.  The only problem I had with this stitching is that it left a lot of thread tails, which then had to be knotted off and trimmed. 


I finished this little quilt with a zippy green machine binding and now it's ready to be donated.  I now have 3 of these 36-inch square quilts to send off, so they are in the box and ready to go and will get to the post office next week. 

I was going to talk some about Leah Day's new book on walking foot quilting, but that's all the energy I have.  It's a good and helpful book, though, and I'll tell you about it another time, I promise!

Blooming forsythia!

Hope this post was coherent, and I hope everyone has a lovely weekend.  I will be resting.  I might pet some fabric, and I did get a good idea for the triangles that I was playing with earlier this week, so there might be a little stitching.  The hubs will be outside working in the yard, so I may need to supervise, but I can do that from the sofa, right?

Sharing at Confessions of a Fabric Addict, Finished or Not Friday, and crazymomquilts.

Wednesday, April 18, 2018

A tub full of triangles

I haven't been feeling well the last few days.  It's been a combination of a bad cold plus what's best called "intestinal distress,"  which is probably brought on by cold meds.  This means that I've been kind of laying around, pretty bored, with a headache and some bad tv for company.  Of course I wandered into the sewing room, too, even though there are many sharp objects in there.

To amuse myself between naps, I pulled out the basket full of leftover triangles to see what I could play with without messing up any of my current projects.  I don't know about you, but when I feel sick and try to sew something, I know I'll have to rip it out and redo it later.  Maybe it's the meds, but it's safer just not to work on anything important until I've been feeling better for about 24 hours or so.  Here's what I started with:


That's a lot of triangles! Many of these were leftovers after projects were finished, some were mistakes made in the wrong sizes, others were made in the wrong colors, and some I just ended up not using.  I don't generally make what some people call "bonus" triangles unless the pieces I start with are really big, so all of these were deliberately made.  Okay, almost all, because in that mess were some like this:


Yep, those are very tiny!  I'm not sure where they came from, or what they'll be used for, but here they are.

Of course, as soon as I dumped out that bin (and isn't the bin itself cute?), I had to sort the triangles to see what I had:


I didn't count them, just kind of put them into piles.  Then came the trimming.  Most of these were untrimmed, and so I cut them to  standard sizes and tried to figure out what I could do with them.  I managed to make three small projects from the triangles so far:


The first one is a mini quilt with the blue and white triangles, which were a decent size to start with.  The hsts were 2-1/2 inches square, and this little piece is now about 14 by 16.  I think it needs another border, but I didn't have the brainpower to choose one today. 


The second piece is a little set of pink and aqua broken dishes that's about 8 by 12 right now.  I think I might layer this with insulbrite and use it outside by the grill.  I know, it seems too pretty for that, but it's leftovers that make a pretty small piece.  If you can think of something better to do with it, let me know. A Barbie sleeping bag is not in the cards, sorry!

The last is that little 4-1/2 inch green and black square, which I didn't take a separate picture of, but it's destined to be a little pincushion.  Do you all quilt your pincushion tops before you layer them, or do you just leave them?  I can't decide.


After all that, I was too tired to go on, so the rest of the triangles will have to wait for a little longer.  Depending on how I feel in the morning, I might work on them some more, but I haven't thrown any of them away, so they'll be waiting whenever I get to them. 

That's the news from here!  I hope you're all feeling well, don't have any more snow, and are enjoying all kinds of good things.  If you have some good ideas for the rest of those triangles, be sure to let me know! And I certainly hope this post made sense.  Not sure I can tell right now!


Sharing at Let's Bee Social and Oh Scrap!

Friday, April 13, 2018

Suddenly spring finish

And suddenly, it's spring!  Yay! I know it isn't spring for everyone, but heck, I am so thrilled to open the windows and put away the heavy coat and maybe start to think about possibly someday having breakfast on the deck again.  Of course, it's also the time of the year when I pull out the stored spring clothes and say "ugh, why did I save this?" Long story short, I'll be shopping this weekend.

This is also the time of year when the light is weird for taking quilty pictures because the sun is out but the trees don't have leaves yet, so there are strange shadows and lots of over exposure.  But we'll get through it because today I have a finish to show, and darned if I didn't manage to get some decent pictures.  There are a lot of shadows from the quilting texture, but it will be fine! Here's my newly-finished quilt:


This is Misfit Toys. The top was my last finish for 2017, and now it is all finished and is a cuddly quilt!  For those of you seeing it for the first time, this is kind of a "cleanout" quilt-- it's made of orphan blocks, leftovers, a few failed experiments, and a few leftover parts and pieces to fill in some spaces.  All of the sashing and the borders are strings from the string jar.  It was a lot of fun to make and was all done on the fly, with no plan until I put the blocks on the wall and started arranging them.


I am actually amazed at how much I like this quilt.  I never would have expected it, but it's lovely.  I'm surprised that all the blocks and leftovers go together so well.  I'm also surprised that there is so much to look at here.  From a distance the light strings kind of blend together and fade into the background, but up close there is a lot of variety:


It's not just whites and creams!  There are pinks, yellows, greens, pale blues, and a few prints in there, and every time I look at it I find another reminder of a previous quilt.  I don't remember where I used a particular white on white, but the prints bring it back every time.


This quilt has a lot of really pretty texture.  It was quilted by my friend Diane Minkley in a pattern called Popcorn, which works great on this quilt.  (Diane could quilt one for you, too!)  An allover quilting pattern was really the best way to go to tie everything together.


I used some yardage of a Moda print for the backing.  It's not "leftover," like the rest of the materials in the quilt, but I mostly use neutrals for backings and I had this yardage, so I used it.  For the binding, I joined together some shorter pieces from my basket of bindings, pieces that were 60-70 inches long, which isn't really long enough for a quilt of any size.  Put a few of those together, though, and you've got something.  I've been using machine bindings for many things lately, but this time I hand-stitched it to the back, mostly because the evenings have been kind of chilly and it's nice to have a quilt on your lap.


So there we are--another happy finish!  I hope you have had some happy stitching this week, too, and some spring.  It's wonderful to have the warm temperatures back, isn't it?  I understand they'll be going away again next week, but I'm enjoying them now.

Everybody have a good weekend!  I do have to get some clothes, and I'm also planning to do some yard work.  After this week, that will be a chore, but for now I plan to enjoy it.  I've got a new garden fork, and I'm ready to use it!


Sharing at crazymomquilts, Confessions of a Fabric Addict, Finished or Not Friday, and Oh Scrap!

Saturday, April 7, 2018

Squared Away Block 4

Hello all, and welcome back to the Squared Away quilt project!  If you're new here, this quilt was designed by me and Angela of soscrappy as a fun way to use up some scraps.  It's free, and all the patterns are saved with links on both blogs, so come on along and sew with us!

This month's color is a bright, happy yellow, along with golds, perfect for spring.  Here is this month's block:

4X Star, Ladies' Art Company, 1895

This is actually a very old block with several names, called 4X Star in the Ladies' Art Company catalogue in 1895.  It appears again as a Carrie Hall block in 1935, and here it is in our quilt in 2018.  For this block, you will need two yellows, ideally with one that leans more towards gold to preserve the pattern.  You could also choose a completely different color instead of the second yellow, too.  Green or pink might look really good with the yellow.

Let's make some blocks!

Cutting for 10-inch blocks:


I made my blocks using strip piecing, but if you have 2-1/2 inch squares, feel free to use those instead.

From the main yellow, cut:

5-3/4 inch square* (for hsts, can oversize if that's something you do)
1 2-1/2 by 10-1/2 inch strip
1 2-1/2 inch square

From the darker yellow/gold, cut:

4 2-1/2 inch squares

From the background, cut:

1 5-3/4 inch square* (can oversize)
1 2-1/2 by 10-1/2 inch strip
4 2-1/2 inch squares

Construction:

First, use the 5-3/4 inch squares of the background and the first yellow to make 8 2-1/2 inch  half square triangles using the Magic 8 method:


Next, stitch the 2-1/2 by 10-1/2 inch strips of the background and the first yellow together along the long edge.  Press to the yellow, then cut into 4 2-1/2 inch sections.  (A little bit is included for straightening.)


That's all for the units. On to assembly!

Assembly:

First, make the corners.  Use 2 of the yellow hsts, the background 2-1/2 inch squares, and the gold 2-1/2 inch squares and lay them out as shown.  Make sure that the yellow hsts "kiss" in the middle.


Stitch into a 4 patch, pressing seams to the solid 2-1/2 inch squares.  Press the seams "down" toward the gold if you'd like your seams to nest.  If you usually spin your seams, be aware that this may cause a buildup in some areas because these 4 patches can't be turned to  avoid it.

These units should measure 3-1/2 inches square.  Make 4.

Next, gather all of your units plus the remaining yellow 2-1/2 inch square and lay them out as shown:


Notice that the yellows in the strip units are on the outside of the block.  It's easy to get them turned around!  Join the units into rows and the rows into a finished block.  Give it a good press, stand back and admire your lovely spring-like block!


As always, I made three blocks this month.  I used a pale blue print for one of the backgrounds, which I think worked out okay, though it's difficult to see in the picture:


And here are my 15-inch blocks for this month:


I love these blocks!  Yellow is one of my favorite colors, even if it is difficult to photograph.

With that, we are almost halfway finished with the blocks for the quilt! Hope that all of your stitching is going well.  As always, be sure to hop on over to Angela's blog to see her blocks and get some more ideas, and be sure to visit her linkups on Saturdays this month as well.  You can link up Instagram posts there, too, and if you're sharing on IG, be sure to tag me (@academicquilter) or use #squaredawaybom so I won't miss your pretty blocks.

Happy stitching, everyone! Our next block will be May 5th.  Meet right back here with some fabric and thread!

Sharing at soscrappy for RSC18.

Wednesday, April 4, 2018

Practice squares

Hi everyone!  I hope you're having a good week so far and that you had a great holiday weekend.  We had a nice holiday, kind of quiet, and one day during that holiday break I got to have a sew day with my smart friend Nancy! We had a fun and productive time, and it did not even involve any chocolate, which I can't have any more anyway.  It was great!

One thing I've been trying to work on is doing some more of my own quilting, especially on the smaller things.  I don't have a long arm, and no prospects for getting one, and free motion quilting on my machine mostly eludes me, so I've been practicing walking foot quilting.  Just so we have a nice picture near the beginning, here's something I'm going to quilt up myself.  More after the photo!


I think this is really cute, and it was easy to make, too.  The problem with practicing quilting is that they advise you to make some scrap pieces to practice on.  I hate doing this, mainly because it seems so wasteful.  I have enough potholders and such, so what would I do with practice pieces?  My solution is to make some "practice square" quilts, that will turn into donation quilts once I finish with them.  This way I get the practice and it remains something useful.  I actually made two really big practice squares, including the one above.  Here is the other:


These are simple square in a square in a square (in a square) pieces that finish at 36 inches square, perfect for donation to Sarah's Hands to Help Challenge this year.  Yes, they got wet when I took pictures because, yes, it was raining again, but don't worry--these will be washed well before they're donated.  These will certainly give me enough room to practice, don't you think?  (For anyone who is interested, I've posted the cutting sizes for these quilts at the end of this post.) 

I've already been practicing some, including on the doll quilts, and during my sew day with Nancy I managed to quilt and bind this little quilt, which is also 36 inches square:


I did not make any of these blocks.  They are from a swap that I did with a quilt group a few years ago.  I made this little top with leftovers from a larger top, which is still unquilted.  The quilting here is better seen from the back:


It's mainly straight lines, but hey--no puckers or wrinkles! It's simple but I like it.  Everything fit perfectly and the quilting went fast.  I have another one basted and ready to go, too:


This was also a small top that I actually cut down a bit to make it 36 inches square.  You may recognize the pattern as Bonnie Hunter's Grand Illusion.  This is all I managed to make of that pattern, and I plan to be a little more adventurous with the quilting on this one.  Maybe I'll make some spirals!  Or diamonds!

By the way--the two little quilts that I've already basted are spray basted, and I hate it except that they did not move at all when I was stitching things.  Usually, I thread baste quilts, which I think is just as fast and easy and far better than pinning.  Is spray basting supposed to smell that awful?  I had to air out the quilts before I could work on them.  Plus, they were quite sticky.  I may have to wash them twice to be sure I get all the basting spray out before they're donated.  Any suggestions, maybe for a better brand?  I used June Tailor's Quilt Basting Spray.  Definitely not my favorite!

So there are my practice squares!  I did get both the book and the Craftsy class by Jacquie Gering, and have found the book a bit more helpful.  The class is good but repetitive, and really geared toward beginners.  I haven't tried her more advanced class, though. 

Hope you're all having a wonderful week!  As a last comment, look what popped into bloom on Easter Sunday:


Spring is finally coming!

Sharing at Let's Bee Social.

Square baby quilt measurements:
 
To make the 36-inch square in a square tops, begin with a 9-1/2 square in the center, then cut the following pieces and join them around the square in order.  Squares can be oversized a bit and then trimmed to size after each round if you prefer. Be sure not to cut off your points!

Center-- 1 9-1/2 inch square
Round 1-- 1 10-1/4 inch square cut diagonally twice to make 4 triangles
Round 2-- 2 9-7/8 inch squares, each cut once diagonally to make 2 triangles, for a total of 4
Round 3-- 1 19-1/4 inch square cut diagonally twice
Round 4-- 2 18-7/8 inch squares, each cut once diagonally