Friday, February 22, 2019

Dancing Stars

Hi everyone!  Here we are at another Friday, three-fourths of the way through February.  Holy cow! I have mixed feelings about this.  On the one hand, the year is already going so fast and 2019 needs to slow it down a bit. On the other, every day brings spring a lot closer, and I'm so ready!  It snowed *and* rained this week, and for a little while, it was doing both at the same time.  It was a very gray week, then when I went to take quilt pictures, the sun came out and everything looked pretty cheerful again.

I'm no weather person, but I think the sun came out just for the fun, colorful finish I have to show today. Here she is:


I call this quilt top Dancing Stars, because the blocks are dancing all across it.  I love how they're dancing and floating at the same time.  The sashing is the dots fabric that I had originally chosen, then changed my mind about.  Then I changed my mind again because the dots were busy enough to blend together and make it seem that the blocks were floating.  If you look very carefully, you can see the seams, but they all seem to melt together unless you're really inspecting it.


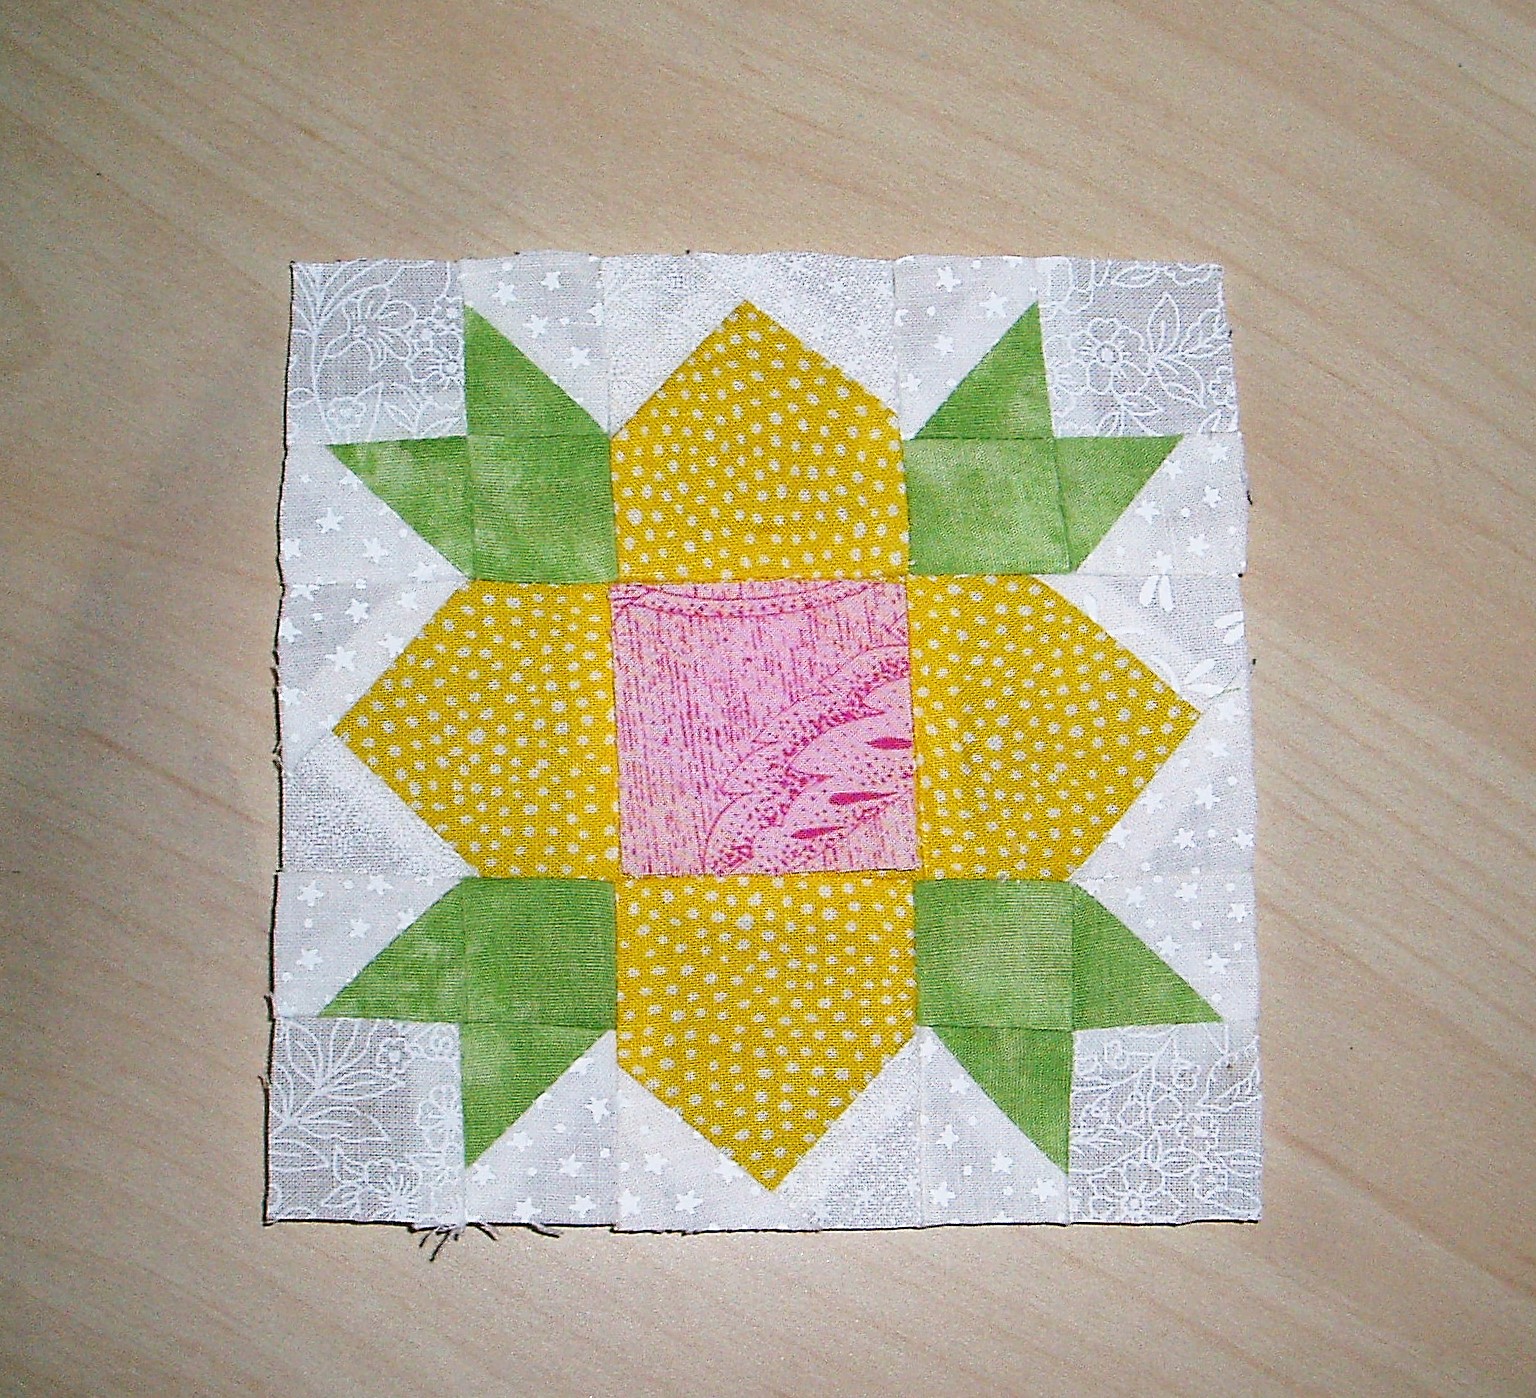
I made these blocks for the Rainbow Scrap Challenge last year, and all of the fabrics except the sashing are legitimately scraps.  The blocks finish at 12 inches and were fairly fun to make.  When I've seen other quilts made like this, the stars are usually white, but I decided to have multicolor stars instead. I'm not sure about it now, but it certainly did add a lot of color.


A twisted sashing is the key to making the stars dance.  First I added sashing all around the block, then trimmed the sashing on a diagonal, like so:


Okay, I enhanced that line a bit so that we can actually see it. To get the angle I wanted, I started with two-inch sashing all around, then trimmed, tapering from 1/2 inch to 1-3/4 inches.  You can control the degree of tilt by the angle that you cut, and I've seen pictures of some quilts with multiple twisted sashings.  I added a very narrow border all around the quilt, mainly so that I could add the binding after quilting without worrying about losing points.


This quilt is going to a friend, and I have a colorful backing all ready for it.  What I don't have is batting! Somehow I have run out of large pieces of batting, and I don't have enough smaller pieces to stitch together.  I guess I have some shopping to do.  Isn't that tragic?


Hope everyone has a lovely, colorful weekend.  I am banishing the gray and have very colorful plans for my own weekend.  There may be balloons, and I'm pretty sure there will be birthday cake.  We'll see!

Sharing at Confessions of a Fabric Addict, Finished or Not Friday, Oh Scrap! and soscrappy for RSC19.

Tuesday, February 19, 2019

Tiny yellow flower block

Hi everyone!  Today is my turn to share a tutorial for a fun Tiny Tuesday block!  This little block is a part of the sampler that is the Rainbow Scrap Challenge project for this year over at soscrappy.  Today's block is a lovely yellow flower that will put a hint of spring into the quilt.

Here is the block we'll be making:


This little touch of spring looks complicated but is easy to piece and doesn't have any odd angles or strange measurements.  Since the block finishes at just 4-1/2 inches, you may want to shorten your stitch length, but all of the seams remain the standard 1/4 inch.

One note before we start-- I made my block with a pieced center, but you can choose to simply use a solid square of any color if you don't want to piece it.  The resulting block still looks great!

With the unpieced pink center.

Cutting:

Important note: Pieces marked with a * are already purposely oversized for trimming during construction.  Because the pieces here are so small, this gives us the best shot at having the block turn out the proper size.  No need to oversize them again!


From the green, cut:

    1 3-3/4 inch square*
   4 1-1/4 inch squares

From the yellow:

    4 2-1/4 squares*
    4 1-1/2 inch squares*

From the pink:

    4 1-1/2 inch squares*   OR
    1 2-inch square

From the background:

    1 3-3/4 inch square*
    4 1-1/4 inch squares
    8 1-1/2 inch squares*

Construction:

First, make the corners. Use the two 3-3/4-inch squares to make eight half-square triangles using the Magic 8 method.  Trim these hsts to 1-1/4 inch square.  Yes, there will be a little bit of waste, but this avoids cutting things in odd inch increments.

Take the hsts you just made and the green and background 1-1/4 inch squares and lay them out as shown, making sure that the triangles "kiss" in the middle:


Press to the solid squares. Make 4.  These should measure 2 inches square.


Next, make the center. If you are using a 2-inch solid square for the center, skip this part and go to the petal units.

Use the 1-1/2 inch squares of yellow and pink to make what I call "cheater hsts."  To do this, draw a line from corner to corner on the back of each of the pink squares.  Layer with a yellow square and stitch on the drawn line.


Trim 1/4 inch away from the line, open out and press into a perfect hst.  Trim each of these to 1-1/4 inches square.

Lay out all four of the hsts you just made as shown, with the pink to the middle.  Stitch and press well.  Seams can go whichever way you think best since they won't be joined to other pieced units.  This little unit should measure 2 inches square.


Finally, make the petal units.  Draw a line from corner to corner on the back of each of the 1-1/2 inch  background squares.  Stitch one square to a corner of each of the 2-1/4 inch yellow squares, as shown:


Trim and press, then add another square to the other corner to make a "house" unit, as shown:


Trim the corner and press, then trim the whole unit to 2 inches square.  Make sure you leave 1/4 inch seam allowance past the point of the "house."


Assembly:

Lay out the units you've made as shown:


Join the units into rows and the rows into a finished block.  Give it a good press, stand back, and admire!


Your block should measure 5 inches to finish at 4-1/2 inches in the quilt.

Now that you've made this block, be sure to visit Angela's page this weekend to see everyone else's blocks.  And if you'd like to jump in for this sampler, it's not too late! You can find all of the information HERE.  Happy stitching!

Sharing at soscrappy for RSC19.

Friday, February 15, 2019

Pets need quilt love too

Wow, what a wild week!  Snow, freezing rain, melting, sunshine, and then rain again.  Oh, and then Valentine's Day, too.  The hubs and I have been married for so long that we're very low-key about Valentine's, but I did make him some baked goods and we had a nice dinner.  There may have been some wine. And I finished my big work project on time, so even though it's raining again I'm feeling pretty happy.

There's a story behind today's finish, but let's have a pretty picture first:


Pretty cute!  And here's the story--

A few weeks ago, my older daughter, who has two cats and does not sew, emailed me, "Cat quilts are a REAL THING.  Yellow and gray for (white cat), something dark for (gray cat)."  She included a link to THIS page. If you click over to that link, it will take you to Lynne Tyler's blog and the very touching story of how she made literally hundreds of quilts for pets to raise money for treatment for her cat Gizzy.  It all began 11 years ago, but it's what got Lynne back into quilting, which has led to the amazing quilts she makes today.  And if you're a pet lover, the story will definitely touch your heart. (Be sure to click over from Lynne's post and read the rest of the story, too.)


So, I guess I had my marching orders! Actually, I didn't mind making these because a.) they used up a bunch of pieces I had no other use for, and b.) I love my daughter! So, small quilts for the cats it was. 


These are each about 24 inches square and were very simple to make.  I just used 2-1/2 inch strips and did them quilt-as-you-go style.  Sorry that I have no process photos, but they were so easy and went so fast that I didn't think to stop and take pictures.  I used a light Pellon fleece in the middle instead of cotton batting and they stitched just fine. The bindings are scrappy pieces.  Happy to have those all put to good use.


For those of you who have wondered about the effect of pinked edges, they gray pieces were cut from my own scraps, and the strips in the other quilt came from a jelly roll that was gifted to me. A cat jelly roll, so it was perfect! The jelly roll had pinked edges and that quilt finished almost half an inch smaller all around than the gray quilt, even though I stitched from the peaks of the pinking. So you do lose something from the pinked edges, even when you're careful.  It might be better if you were matching a pinked edge to a cut edge, but here I was matching the pinked edges to each other.

And because you'll want to know, the cats loved their Gizzy quilts! I don't know how, but apparently they knew which of the quilts were theirs, though one kitty prefers the back of her quilt to the front:


And a little later, of course:


Oh, to have a life where an afternoon snooze was a regular possibility!  I'm going to say that these little Gizzy quilts were really successful and will be used and loved for a long time.  True fact-- I am allergic to cats (and dogs), so I have to experience pets vicariously through the pictures my kids send me.  This photo definitely warms my heart!

Hope everyone has a weekend as relaxing as my grand-cats daily lives. They certainly seem to have the right idea-- grab a quilt and get nice and cozy!

Sharing at Confessions of a Fabric Addict, Finished or Not Friday, and Oh Scrap!

Friday, February 8, 2019

Hope for spring

Welcome to another weekend, everyone! Congratulations on making it through the week. This one was a nasty one, wasn't it? But we've made it through, so now it's time to look at pretty quilty pictures and maybe-- maybe-- have a gluten free fudgy brownie or two.  Don't forget some milk!

For the quilty pictures, today I want to show a very springy quilt top that I finally finished off.  Ready for something bright and happy to finish off the week? Here we go:


I just now noticed that this quilt is hanging upside down.  Oh well!  It's a little washed out, but I will not be complaining about the sunshine.  This quilt top came from a free quilt along from Sharon Holland and Maureen Cracknell, called the Community Sampler, and you can still find the free patterns on Sharon Holland's website HERE. It took me longer than it should have to finish the top, but I'm really happy with how it turned out. 


It was super nice and sunny when I took these pictures and it felt great. I mean, like there was hope that the cold and rain (and some icky ice we had, too) might actually end some day.  Then, of course, it started raining Thursday.  Sigh.


You can see that I had a favorite yellow fabric that I used in the centers of most of the blocks.  I had a fat quarter of that fabric forever and I never used it because I just loved it so much.  Plus I only had a fat quarter and sometimes that doesn't go very far when you're making a quilt.  It's from a pretty old line called Hartwood by Timeless Treasures, and I was so pleased to finally be able to use it in this quilt.  I have a couple of small squares left, but otherwise I used it all up, which we all know is a win.


I debated forever about the border for this quilt.  Sharon Holland had a great border design, but I just didn't like it for the colors I used in this quilt.  I auditioned several fabrics and different designs, including the greens and yellows in the blocks, but in the end I just finished it off with narrow strips of the blue background.  I also didn't have enough of one blue for all of the setting triangles that formed the background, so I used up a few lighter blues with about the same value.  I think they work pretty well together.  I might use one of the greens for the binding, or maybe the yellow.

Here's a hazard of taking quilty pictures in the spring:


Yep, mud.  The ground out there is very, very wet and the quilt top got dragged on the ground.  I was very sad, but it came right out with a little water. Thank goodness I didn't step on the top!  That would have been a tragedy.


Hope everyone has a really good weekend! Apparently we're going to have another temperature plunge, or maybe a roller coaster of temps.  I can't keep track any more.  All I know for sure is that there is a pan of brownies in the kitchen and someone is going to have to eat them.  Maybe I'll let the hubs have some, but maybe not!

Sharing at Confessions of a Fabric Addict, Finished or Not Friday, and Brag about your Beauties at From Bolt to Beauty.

Wednesday, February 6, 2019

Next quilt in line

Hi everyone! It was 67 degrees today.  I think I have whiplash! Not to worry, though, because I understand it's going to be plenty cold again soon enough.

Since I finished off one of my piecing UFOs this past week (pictures to come Friday), I pulled another one out of the closet to finish it off.  If I keep doing this, eventually I'll get to the end of the UFOs, right? Here are the blocks I've pulled out:


These are the patchwork scrap stars that I made as part of last year's rainbow scrap challenge.  Somehow I always love making the blocks but then have a hard time putting these into tops. This is probably because the RSC ends just before the holidays, so the blocks are done but there's no time for stitching them together.  In this case, I have this quilt earmarked for a friend, so now I feel bad about not getting it together sooner.

Anyway, I like these blocks but I'm not sure how to set them.  I also know that I need to make two more blocks, but I'm not sure which colors to use.  Right now I'm thinking orange and maybe red, but I could change my mind.  I also think I'm going to take out the one block that I made from the novelty fabrics.  It's just too busy and distracting.

Here is the fabric I have for the sashing:


I like the dots, but I'm probably going to have to put some kind of a frame or border on the blocks to separate them from the sashing.  What color do you think?  I was thinking a plain solid white, but I don't want to tone it down too much.  The friend who gets this quilt definitely likes wild.

Here's an old book that I've been looking through for some setting options:


So many of these older books are great because they're about techniques and not just about patterns. Not that there's anything wrong with patterns! But you know what I mean.

So I guess I'll be playing with setting options and the like for a little while, at least once it starts to rain again.  The weather right now is way too nice for February, so I need to go walk a couple miles while it lasts.  And hey--I noticed yesterday that the days are definitely getting longer! It wasn't dark at 4:30! Yay! Spring is definitely on the way.

Sharing at Let's Bee Social and soscrappy for RSC19.

Saturday, February 2, 2019

Tiny little blocks

Hi everyone, and happy Saturday! Well folks, it's February already.  I just don't know how that happens.  It feels to me like we just started 2019 and here we're already 8% done with it.  Pretty sure I would feel a lot better about it if it was warm and sunny, though!  Although I can't complain-- as you are reading this, I am snuggling with my new granddaughter, so it would be difficult to be happier!

For the RSC this year, I already have several projects, and I've decided to add one more and jump in on the Tiny Tuesday sampler.  The blocks are just so cute who could resist?  Most of them make up pretty quickly, too.  So here is the start of my tiny sampler:


The weather has been disgusting, like everywhere else right now, but I took the blocks out on the deck and took pictures while it was snowing.  I had no choice because I tried to get pictures inside and they just did not turn out.  Indoor pictures look okay if I take them when the sun is out, but it's been gray and gross, so there was no way they were going to look good.   I did manage to shield the camera so you can't see the snowflakes falling, though.

I don't have a ton of red fabric or leftovers, so I substituted some grays and a couple of coral pieces.  I just love that little gray cat, and I don't really like gray. The block farthest to the left was not on Angela's sampler patterns, but I didn't want a plain string block.  This is just a square in a square block which was super easy.  I did get some strings in a different one of the blocks, though:


I made the red heart in strings, all of which came from friends, and I think it turned out great.  See what I mean about the icky indoor pictures?

The only other RSC thing I've gotten the chance to do is add the yellow round to the Boston Common quilt:


I'm so glad that I added a round of white between the red and the yellow.  Those two would really have vibrated next to each other, wouldn't they?  This round went really fast because I've got all those squares already cut and in the bin.  Plenty of yellow ones left, too, because I love yellow. I do like all the different squares.  They're going to give this quilt a lot of character.

That's pretty much it! I haven't had a lot of time to play with the yellow, but there's a bunch of month left.  Hope you're enjoying the weekend and warming up.  The weather people say that it's going to be in the 50s again this week.  I'm skeptical, but hopeful!

Sharing at soscrappy for RSC19.